Are you a do-it-yourselfer who has been wondering how to create a cake stand? Traditional shop cake stands are really tedious as well as costly.
If you’re going for a certain color, pattern, or theme, it’s tough to get exactly what you’re searching for.
Here, we’ll look at everything you’ll want and/or need, as well as how to construct a cake stand instructions and some additional inexpensive and innovative cake stand ideas.
Things You Need!
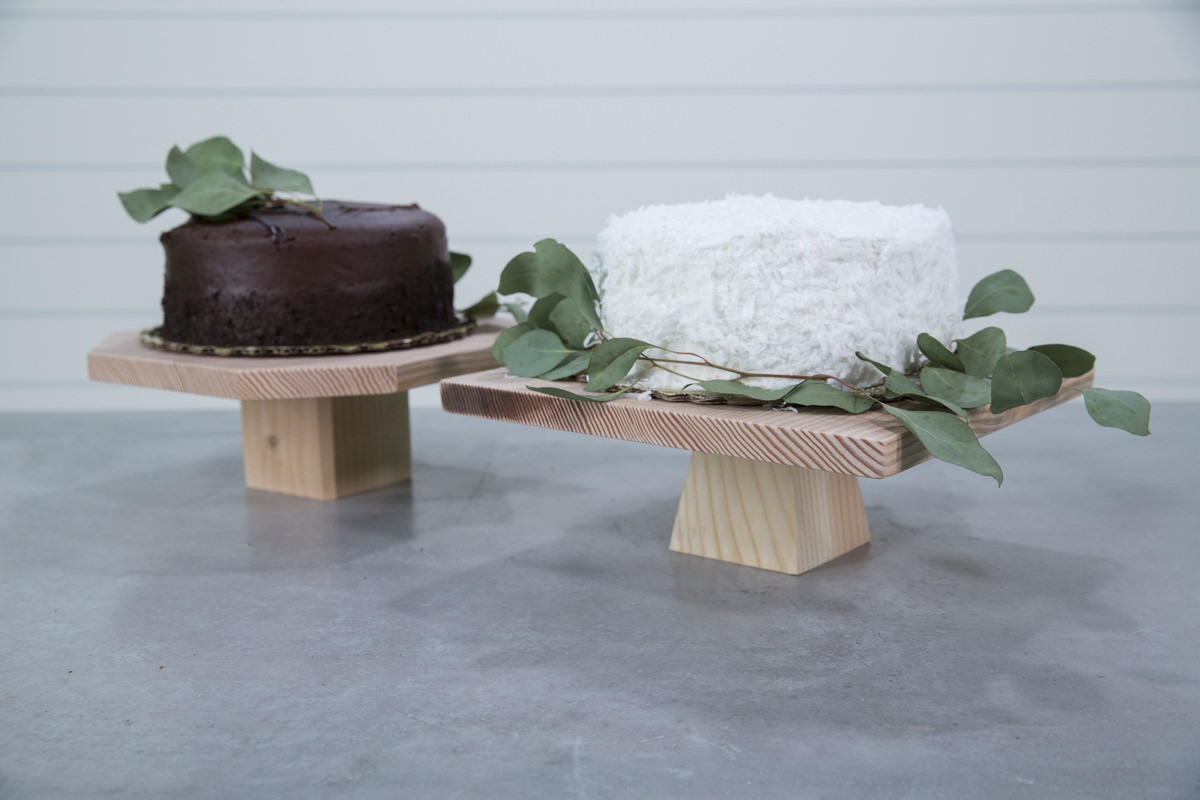
source: DIY Cake Stand
What you require! When thinking about how to construct a cake stand is entirely dependent on you and your concept. You might even start the project with no vision and come up with something amazing. Plates, wood, bowls, glass, plastic, canisters, clay pots, wire, concrete, cardboard, and marble are examples of construction materials.
To attach the cake stand and any decorations, you’ll need an adhesive. Beads and pearls, glitter, primer, several colors of acrylic paint or spray paint, and various colors of ribbon are some more materials you can pick.
DIY Cake Stand In 4-Steps
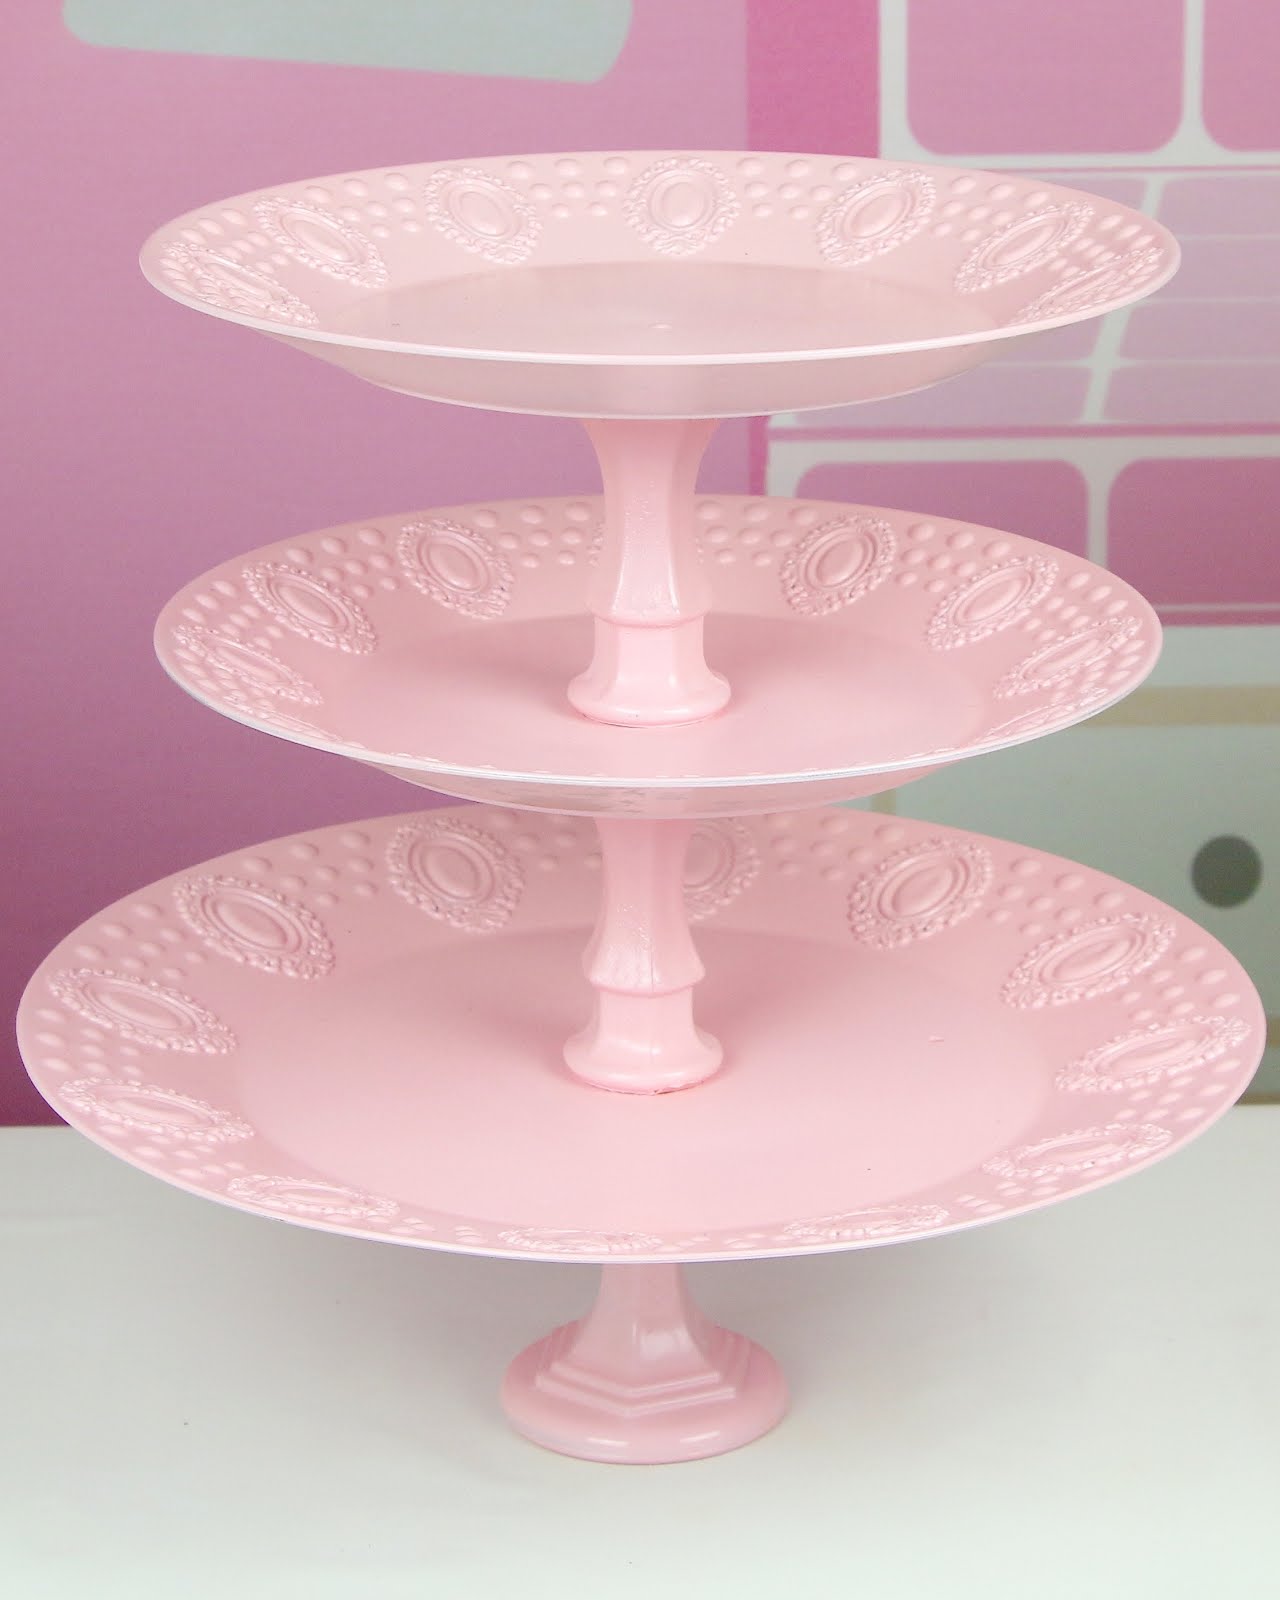
source: blogspot.com
Finally, we’ll go through how to construct a cake stand in this section. There is no right or wrong way to do things as long as they are functional and reliable.
Step 1
This is where you’ll select your elements. Whichever pieces you choose, make sure one of them is perfectly flat on top of the other.
If you wanted to connect a plate to an upside-down bowl, for example, you’d have to make sure the bowl was totally level and free of any feet or ridges. You won’t be able to get a solid grasp throughout the gluing and setting phases if you don’t do this.
Step 2
source: natman.com
Let’s say you’ve found your two ideal components and are ready to assemble your cake stand. After that, you put the parts together to notice that they are asymmetrical.
While it is a fortunate accident that turns out to be stylish, it also can appear amateurish. That’s critical to measure first if you want a component in a specific location.
Step 3
source: pintrest.com
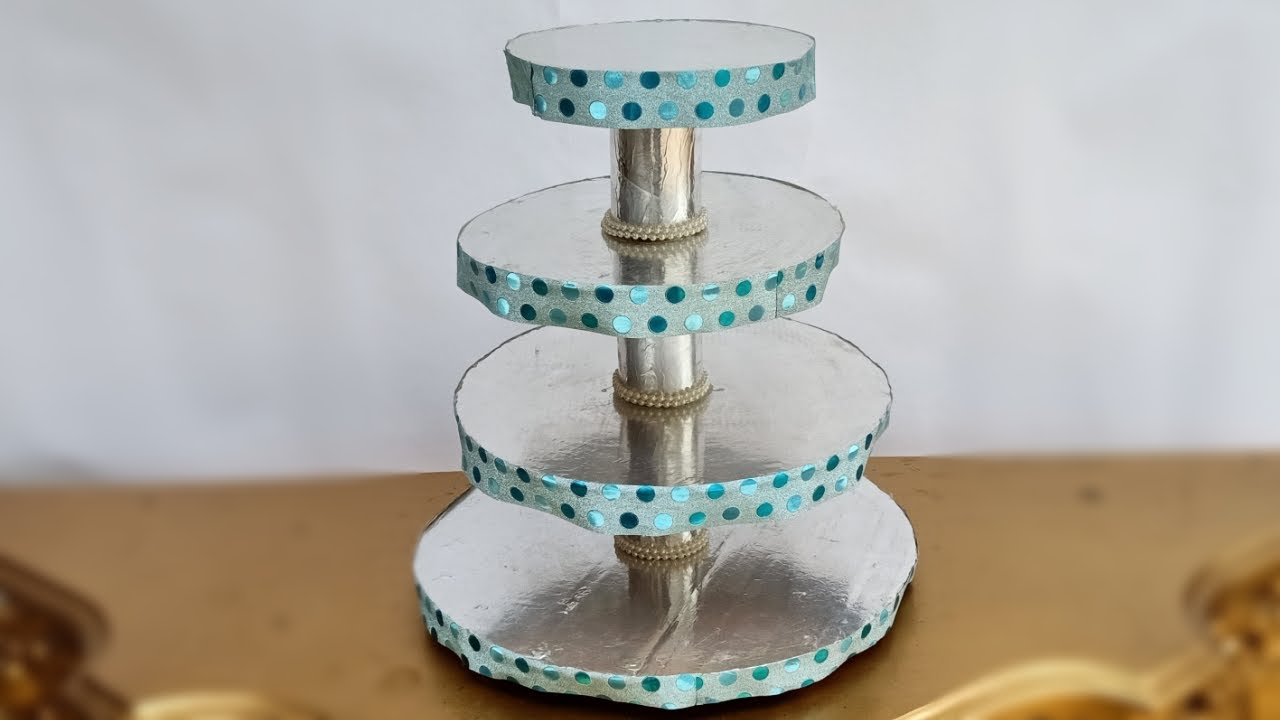
Select the appropriate glue. Depending on how the cake stand will be used, this is a critical stage. You’ll need glue that’s both permanent and waterproof if you want it to be a permanent object.
In this situation, you can simply hand wash your cake stand; however, it is recommended that you do not immerse or submerge your cake stand in water since it may cause the bond to dissolve and your cake stands to come apart.
On the other hand, you could want to create a temporary cake stand that will only be used for one occasion and then recycle the elements. Poster putty can be an excellent choice in this scenario.
After you’ve finished constructing the stand, you can try chiseling the parts apart. It might work in some situations, but you can wind up damaging, shattering, or chipping anything in instances.
Step 4
You’ve got your parts; you’ve calculated exactly where they should go, and you’ve got the right glue. It’s finally time to put everything together!
Varying adhesives recommend waiting different periods of time before using them, but for the greatest effects, many people recommend leaving your work overnight. You’ve learned how to create a DIY cake stand now.
Cake Stand Decor Ideas
Plastic Cake Stand
source: infarrantlycreative.net
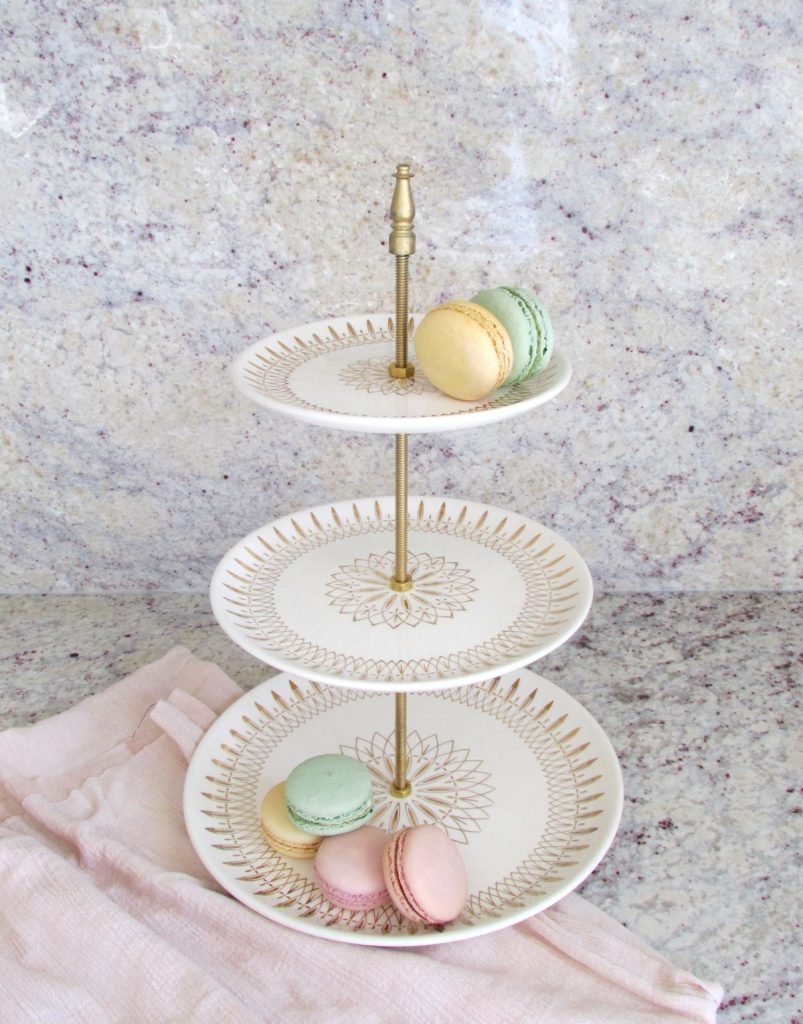
To temporarily support your cake creation, grab a plastic wine glass (or margarita glass for a bigger base) and a plastic plate or charger. Simply hot glue the base of the glassware to the underside of the plate, spray paint if necessary, and you’re ready to put your delights on top!
Hoop Ring Stand
Here’s one we adored for a stunning hoop ring cake stand. We appreciate the unique design; it’s unlike anything else we’ve seen!
This cake stand would be an excellent addition to your wedding or any festive celebration. It’s simple to decorate with flowers or other decorations. It is robust and can support hefty cakes.
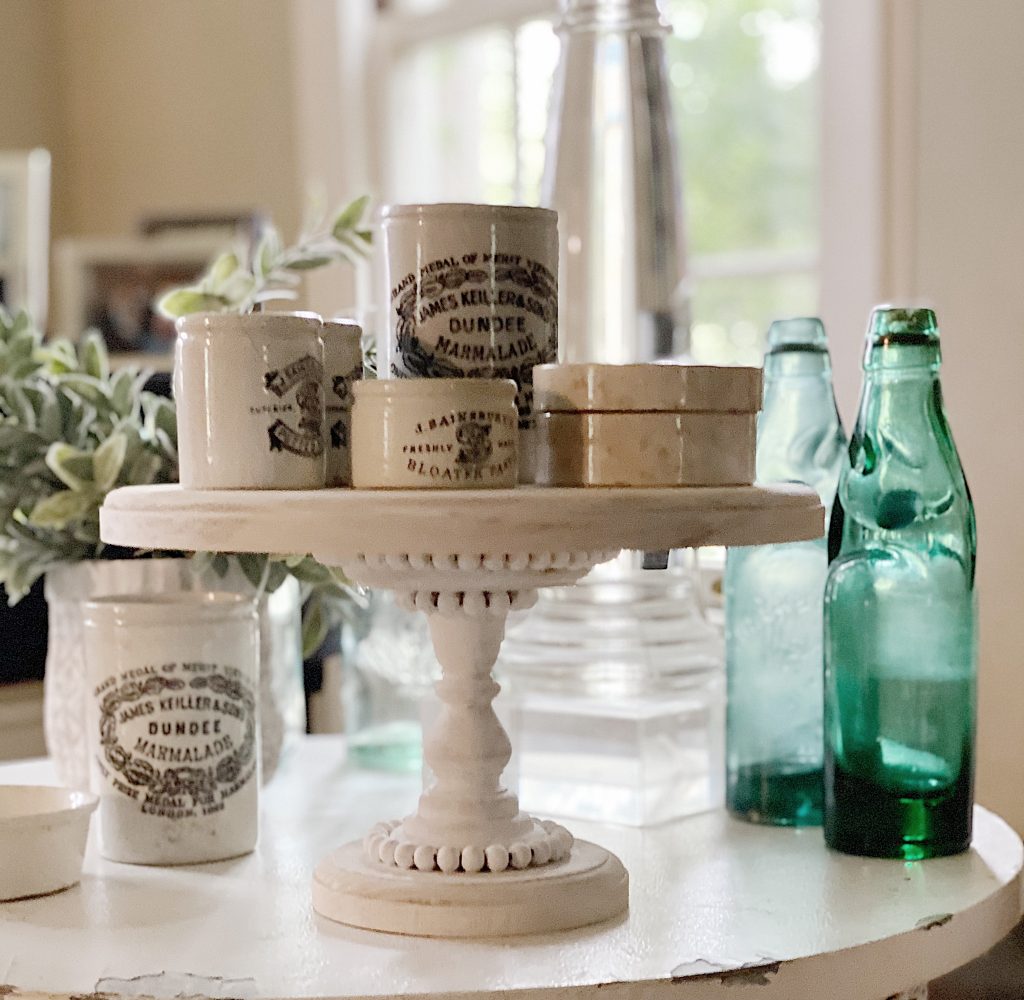
Rustic Wooden Cake Stand
source: my100yearoldhome.com
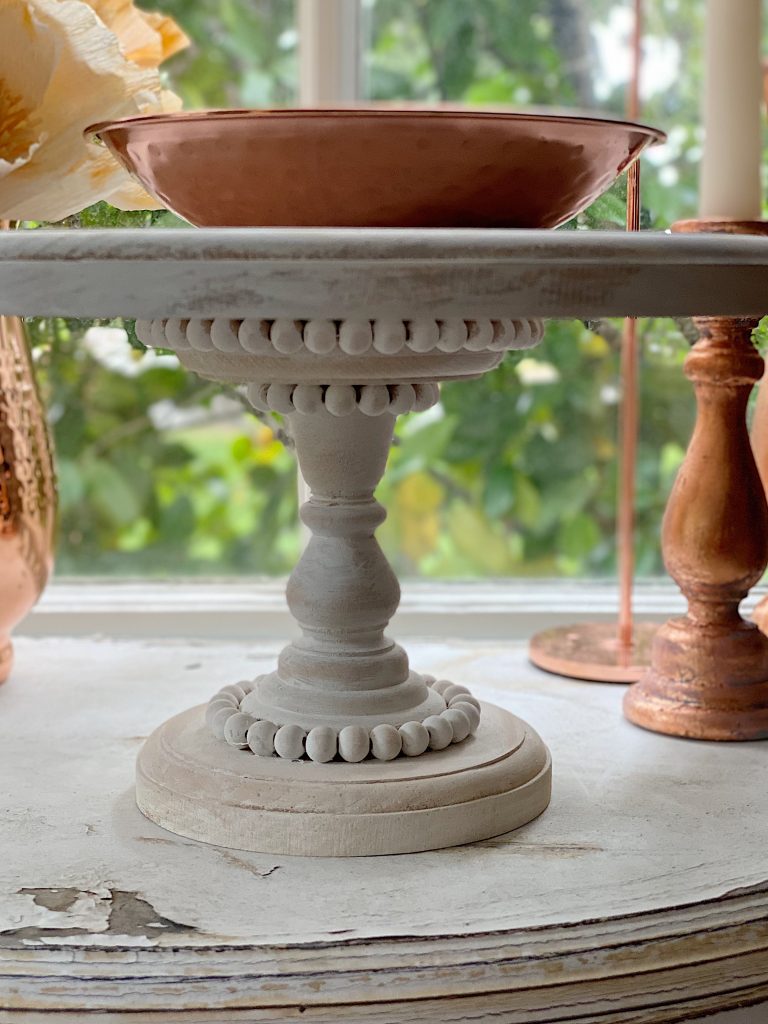
This is a pretty wooden cake stand that was entirely handcrafted by a skilled woodworker. Hardwood, ebony, and walnut woods were utilised in its creation. There were no machinery employed in the construction of this wooden stand. Perfect for wedding cakes and birthday cakes, as well as ordinary day-to-day use as a footed bowl.
Don’t know what to get someone on a special occasion? If he or she enjoys making or simply eating cakes, surprise him or her with this handcrafted cake stand!
Terra Cotta Cake Stand
Choose a small but tall terra cotta pot for this stand and glue it to the bottom of the saucer. If you want grooves on the sides of your stand, flip the saucer over or use it right side up. You can either leave the terra cotta in its natural state or paint it with a pretty white primer spray first and then paint it any color you want.
Bling Cake Stand
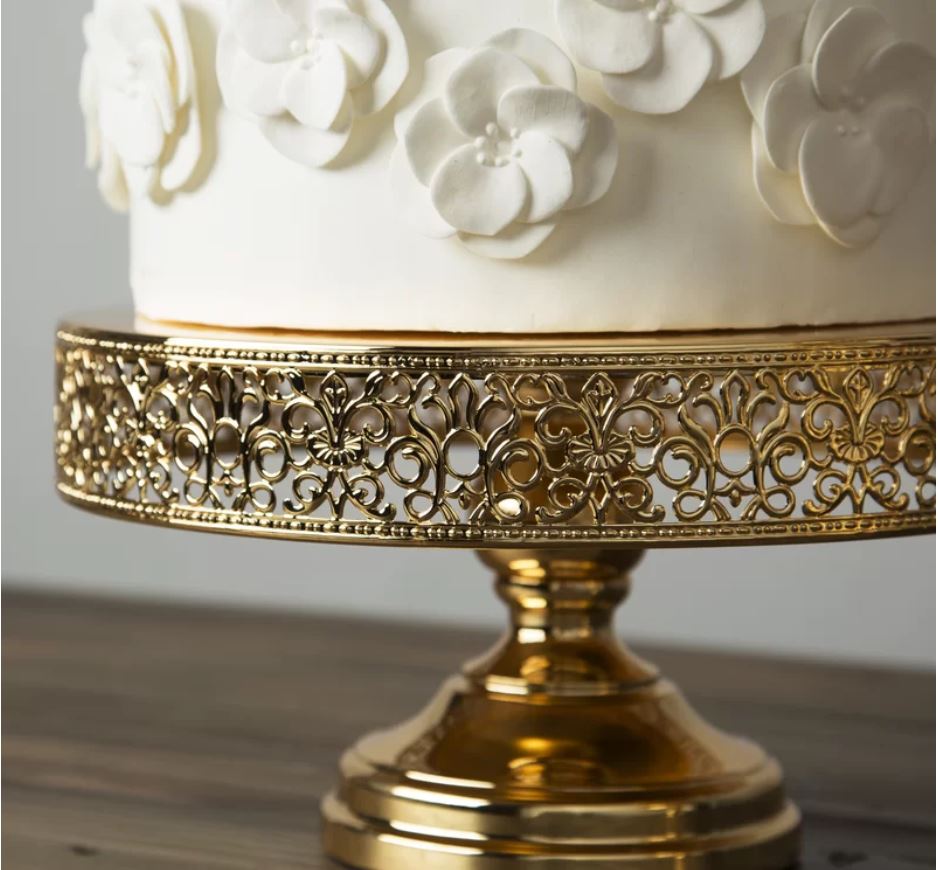
With our lovely Gold cake stand, you can bling up your wedding cake. It features a mirror base with golden trim all the way around it! This product is light in weight, convenient to transport, and can be utilized for a spectrum of uses!
Acrylic Cake Stand
source: my100yearoldhome.com
Acrylic has been polished to a standard shine. Use soapy water and avoid abrasives when cleaning. It comes flat-packed and is put together by slotting together the pieces (no need for glue). Disassemble for flat storage. You can make the cake stand in any color you want.
Perfect for cupcakes and buffet food displays at parties and celebrations. This item is made from repurposed acrylic. It is absolutely non-toxic and environment-friendly
Last Verdict
After exploring how to construct a cake stand, you’ll find that it’s a simple DIY cake stand that’s both straightforward and enjoyable to make. You can also do this if you’re already a crafty person who wants to grow more elaborate.
Anyone, from a novice to an expert, can make their own cake stands. There are so many components, materials, and decorations to select from, making the fun and possibilities limitless. Good luck on your cake stand adventures!

