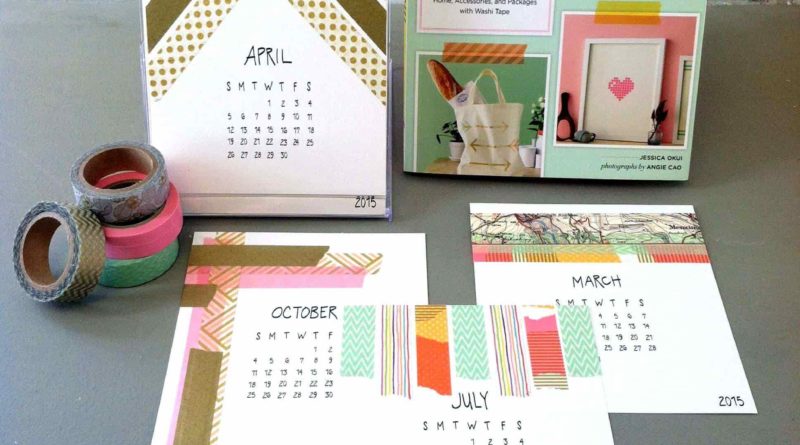
With the advancement of science and technology nowadays we are able to keep all our commitments and appointments on our phone or the electronic calendar on our laptop. However, most of us also love to make sure we can tell what date and day it is in several places in our house too. So live enhanced Explore some nice and simple ideas that will keep you up to date each morning. These DIY calendars can be used for the rest of the year and every time you look at homemade calendars it will make you feel awesome!
source: wonderfuldiy.com
source: googodecor.com
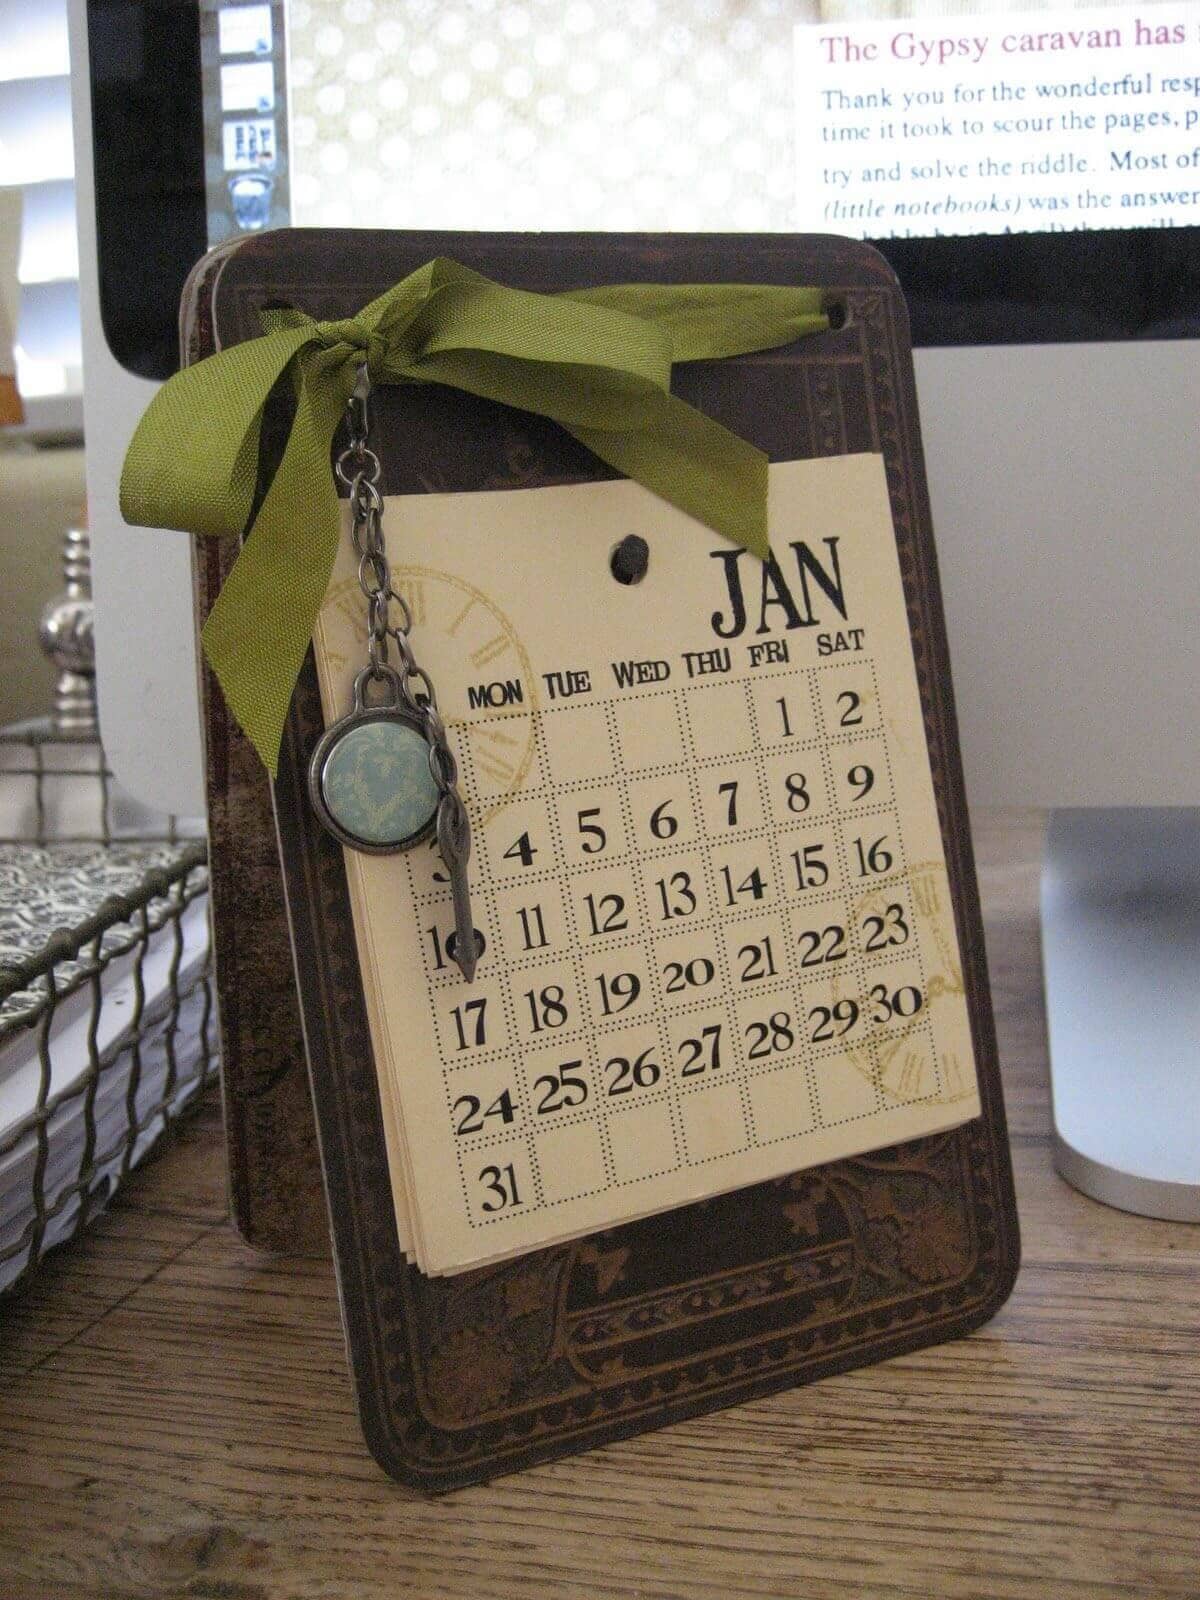
If you want to make a simple calendar with the things you already have around the office or at home then make an easy printable clipboard calendar. Take printouts of each month and clip them together. Simply remove each page as the month’s end to show the next month underneath. You can use a different color for each month and some cut-outs to design the pages.
source: designertrapped.com
source: pinterest.com
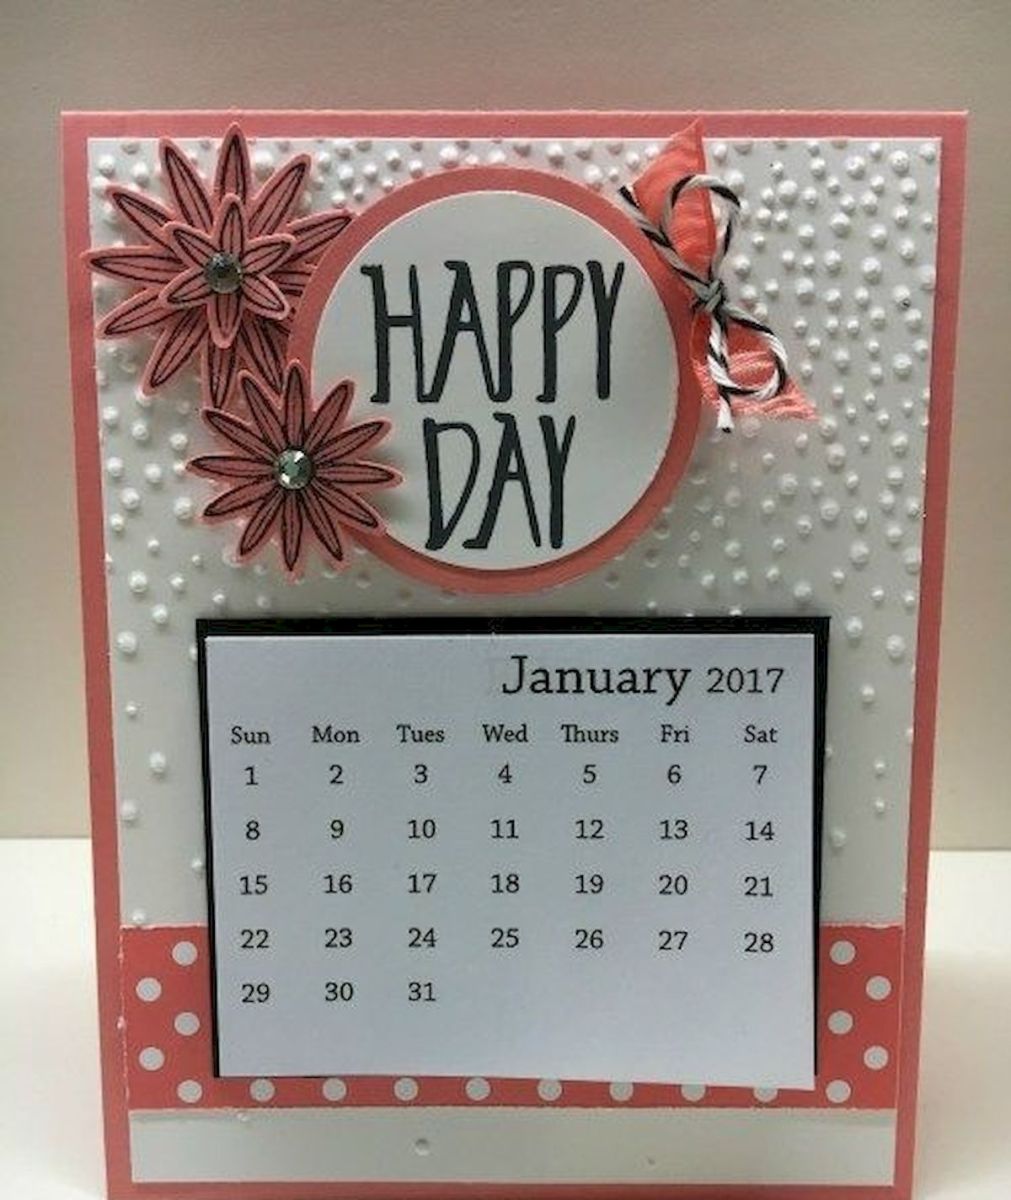
You can make a romantic new year calendar. Cut some colored papers of your choice into heart shapes. Now stick them on a page to form a big heart. Take a printout of each month of the appropriate size. Staple them below the heart. Put a picture frame around the calendar. It can be hung on the wall or made into a table calendar.
source: googodecor.com
source: orientaltrading.com
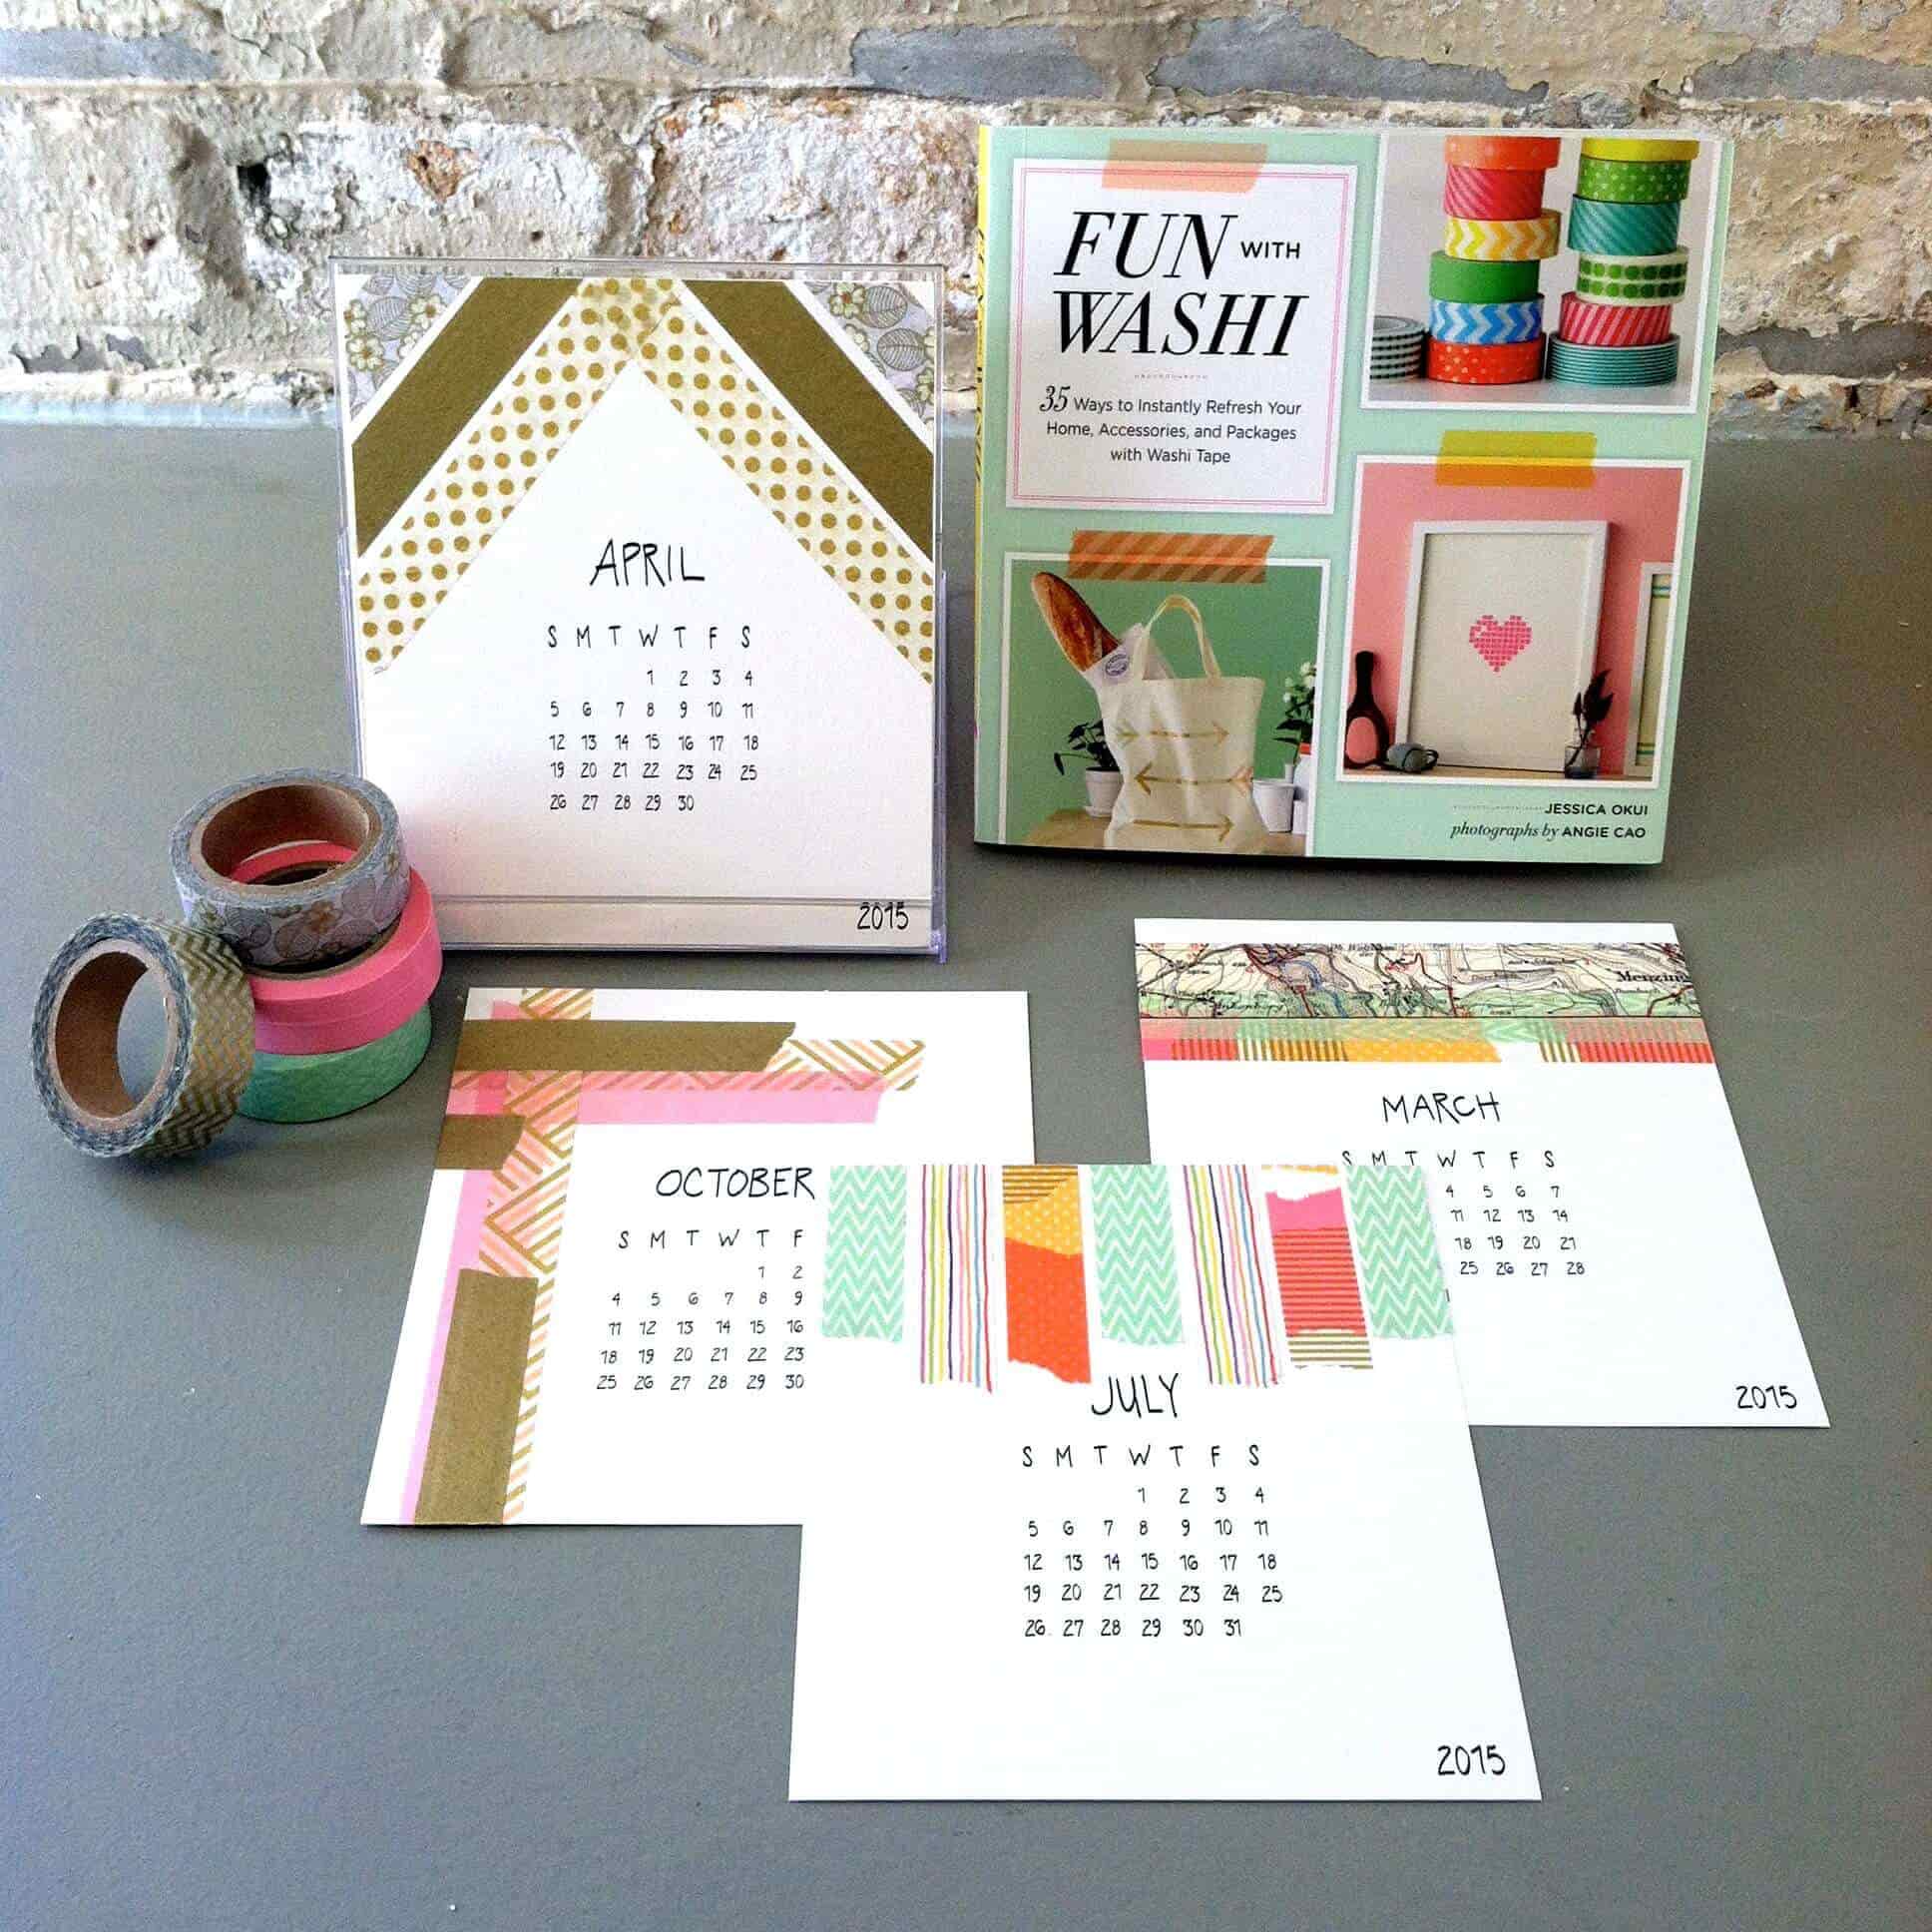
A twelve-page calendar can be made using some Instagram pictures. You can choose the pictures as you wish. They can be family photos, selfies, childhood pictures or even that of your pet! Cut the poster board into 12×2 pieces. Glue all the 12 pictures and the 12 calendar pages on each of these 24 pages. Use a punching machine to punch holes on the top portion of the 12 calendar pages and bottom portion of 12 picture pages. Make sure that the upper and lower holes match up with each other. Make two loops using any decorative yarn to connect pictures and calendars together. You can use glitters to make the calendar look attractive. Well, one more hole has to be made and a loop with yarn has to be tied to display your work of art proudly on the wall.
source: papersource.com
source: allthingschristmas.com
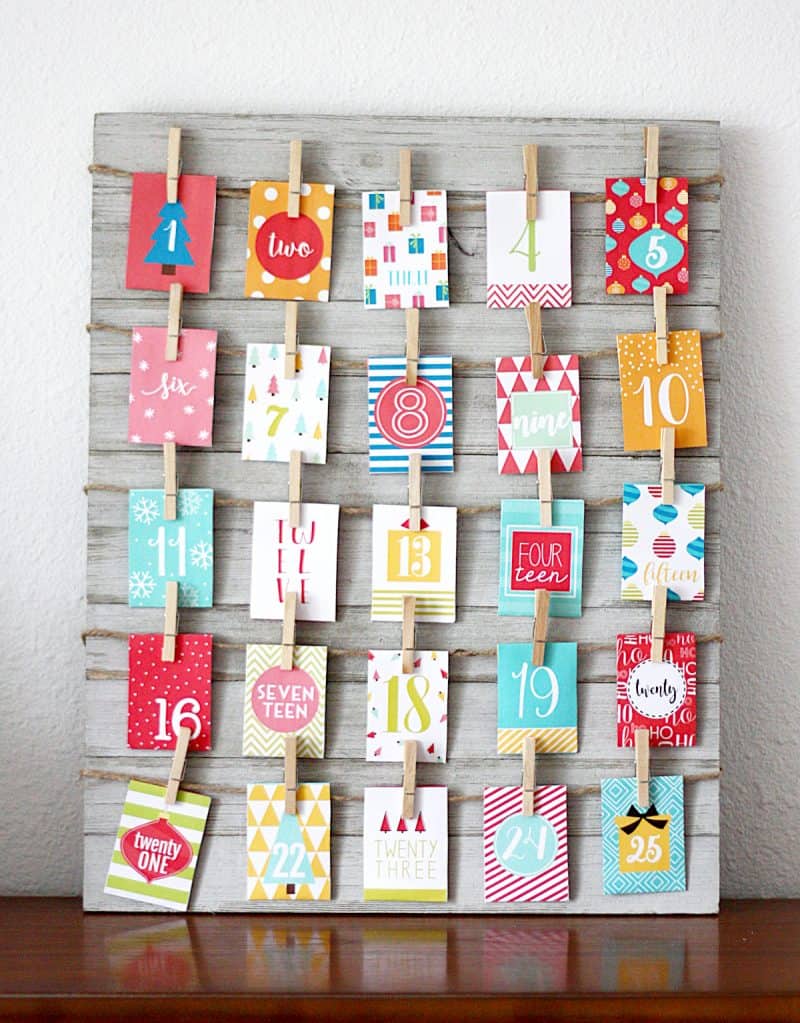
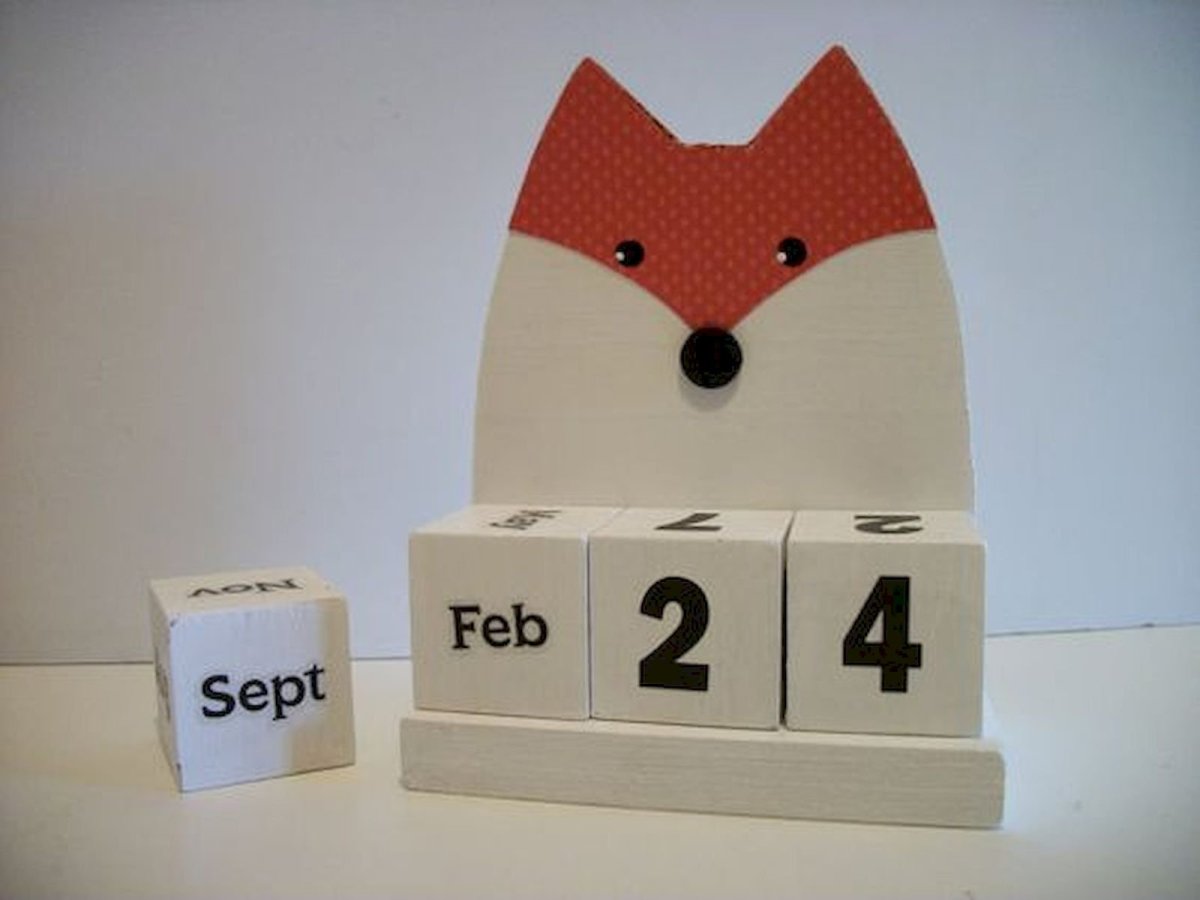
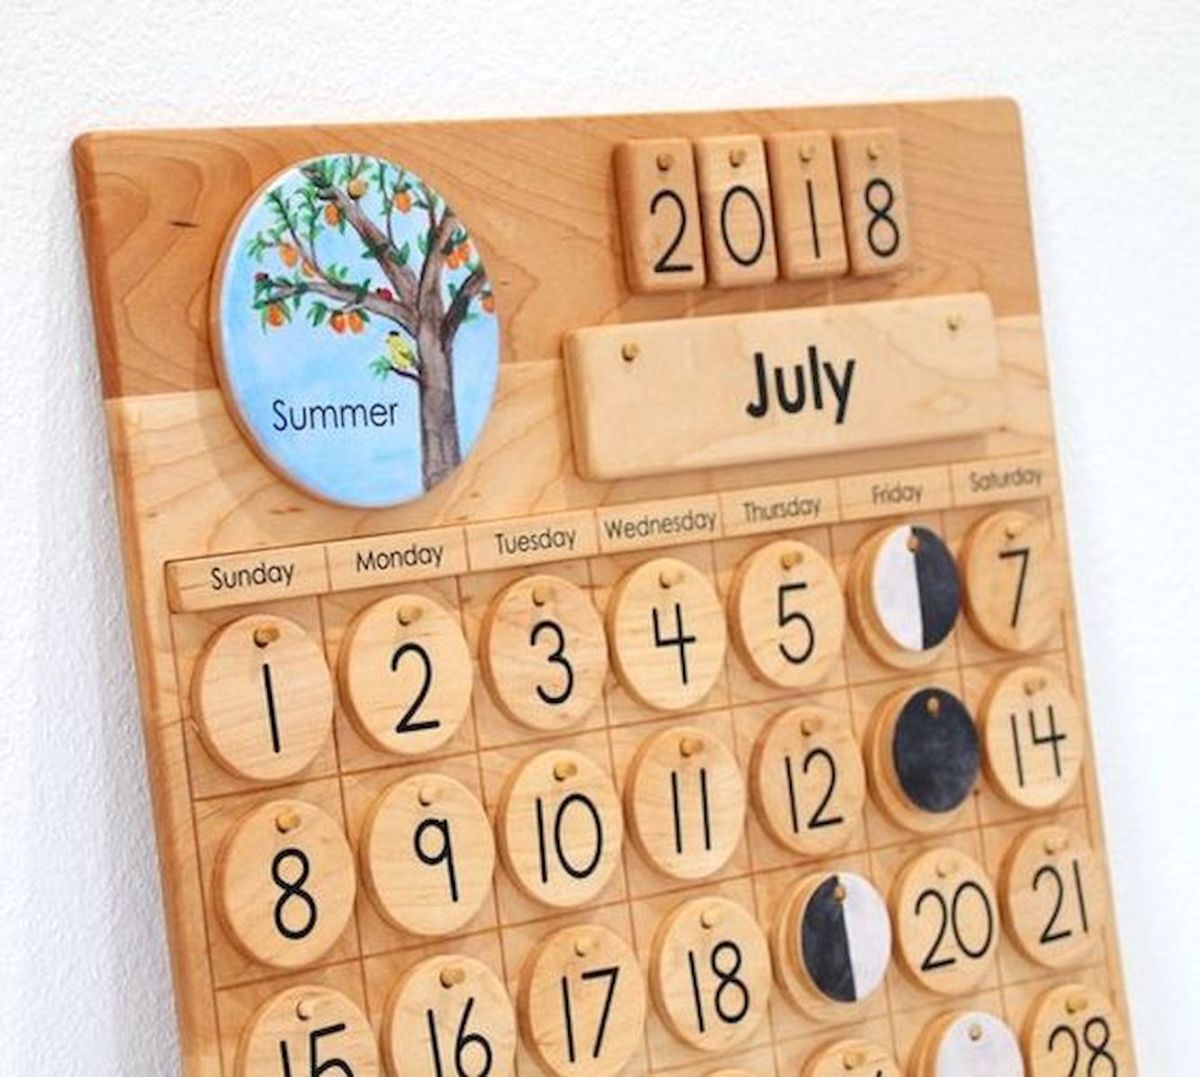
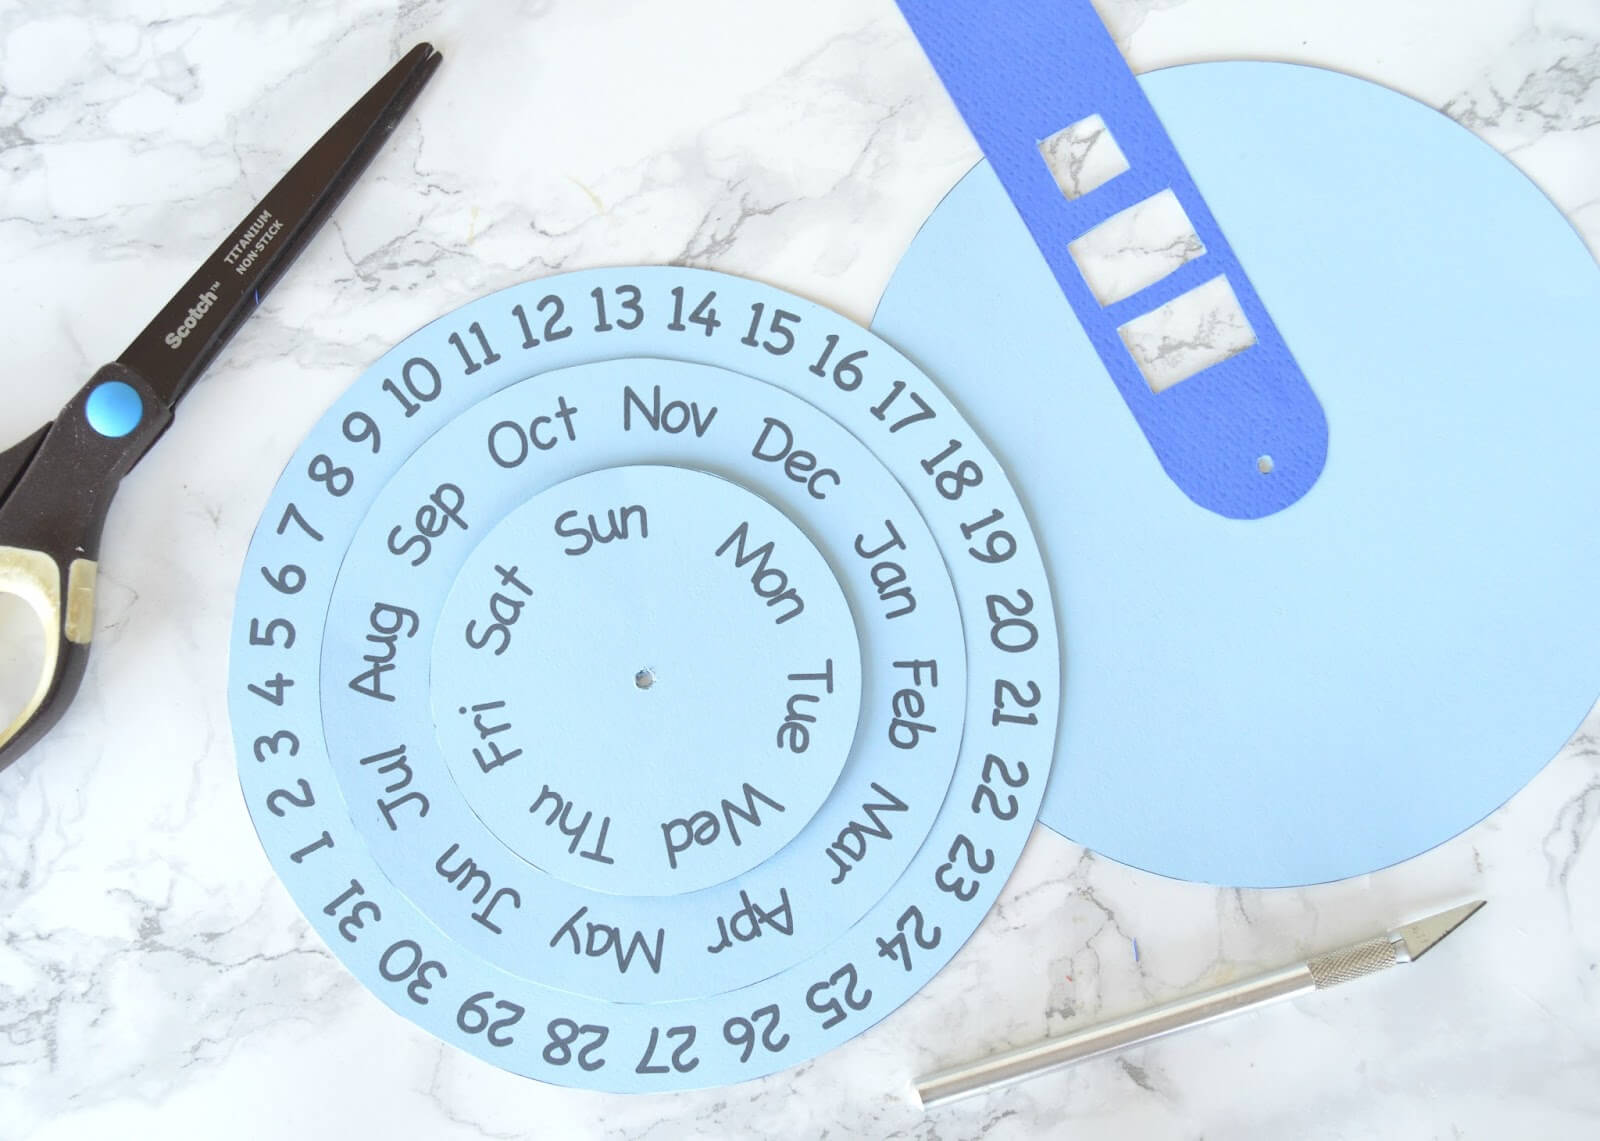
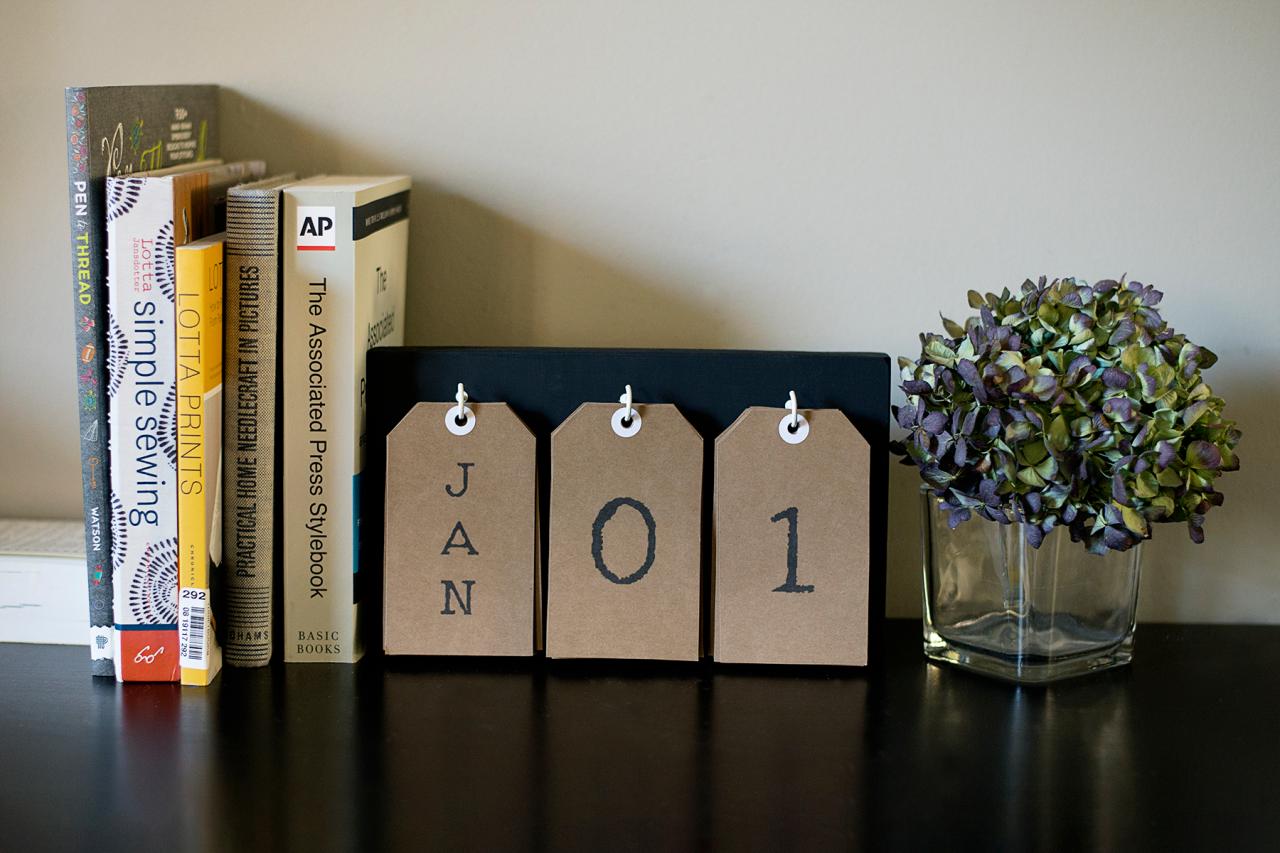
Here is a calendar that can last you lifelong if you handle it carefully. Take a board which is rectangular. After keeping a margin all around get the measurement of three pieces of papers that have to be attached on the board. On the first set of 12 papers write the names of the months in short. On the second set of 31 papers write the dates from 1 to 31. On the third set of 7 papers write the days of the week in short. Now attach them carefully on the board, first the month, then the date and then the day. If you want to keep this on the table you have to make a stand. Take a box of convenient size and shape. glue it at the back. Cover it with fancy glossy paper. You can keep your stationeries there. A great concept to keep your desk chaos-free.
source: artmyideas.com
source: archzine.fr
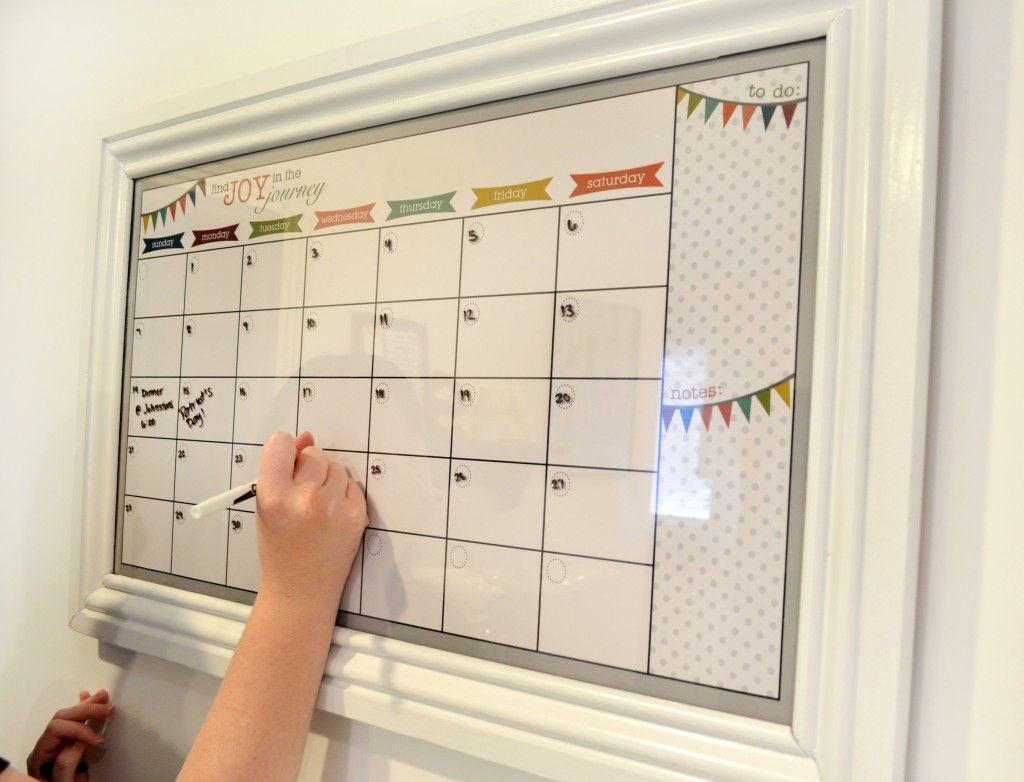
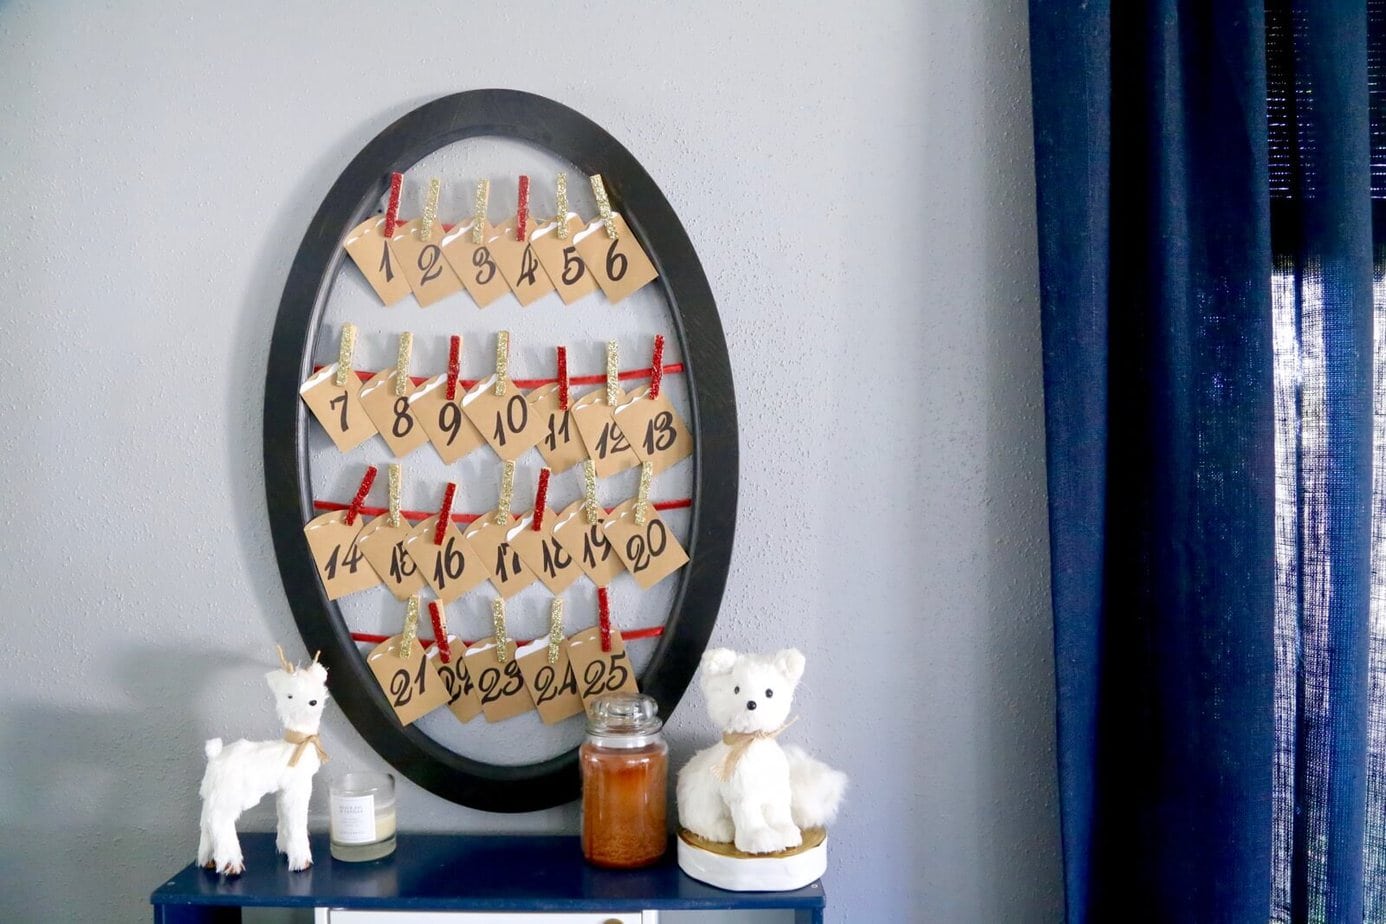
If you have a spare frame color it to match the wall where you are thinking of place it. Draw a grid of 7 columns and 6 rows. Space has to be left on top to write the name of the month too. Now place the paper below the glass of the frame and put masking tape on the glass overlapping the grid. Use different colors on the columns to make them colorful and joyful. Now fill the grid up with names of the months, days and dates. You can fill up the grid with the occasions and happenings of the months. Your monthly planner is ready!
source: loveandrenovations.com
source: vikalpath.com
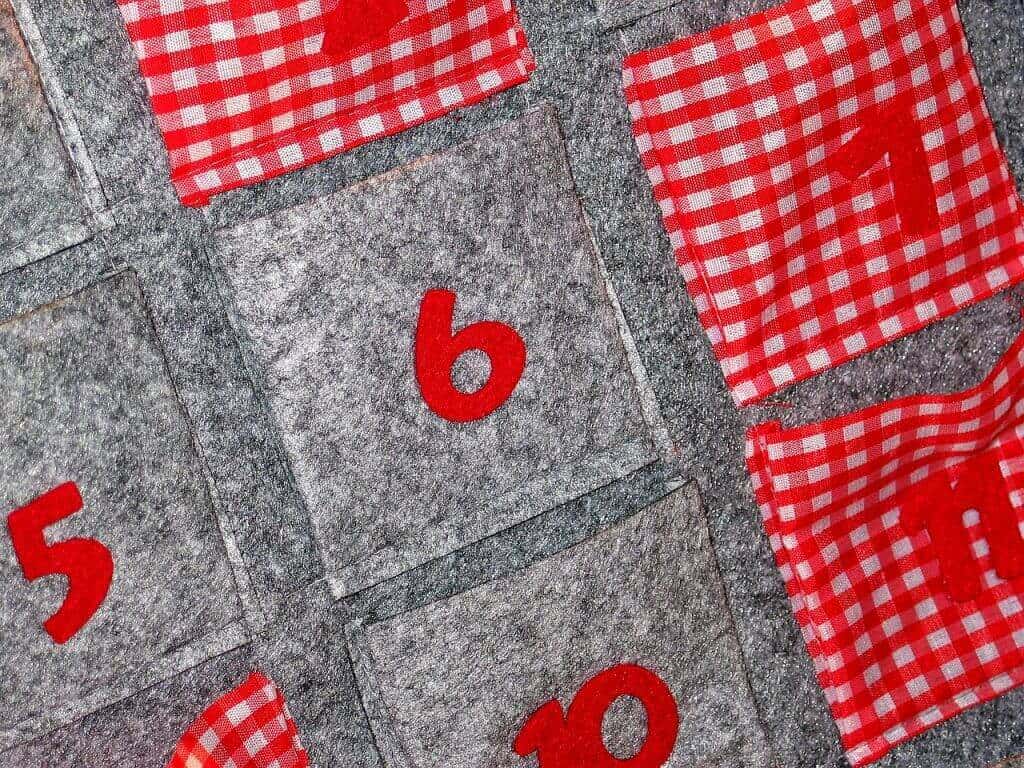
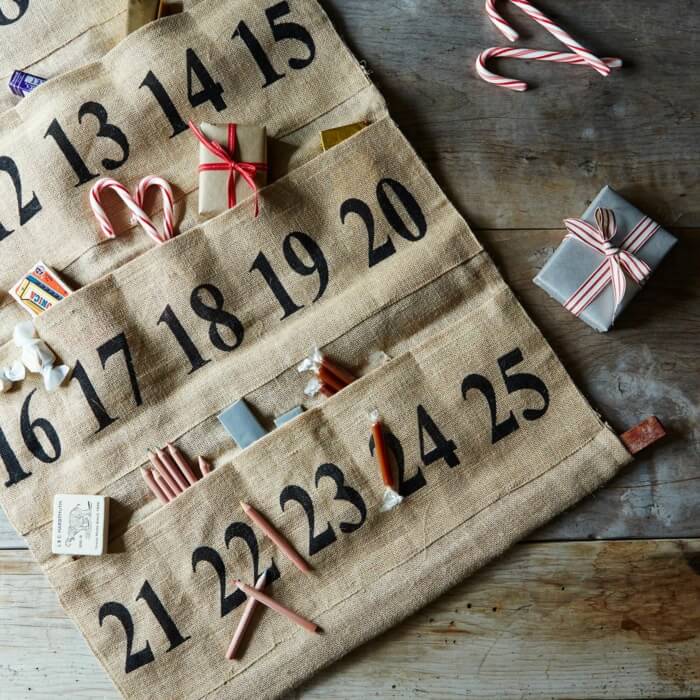
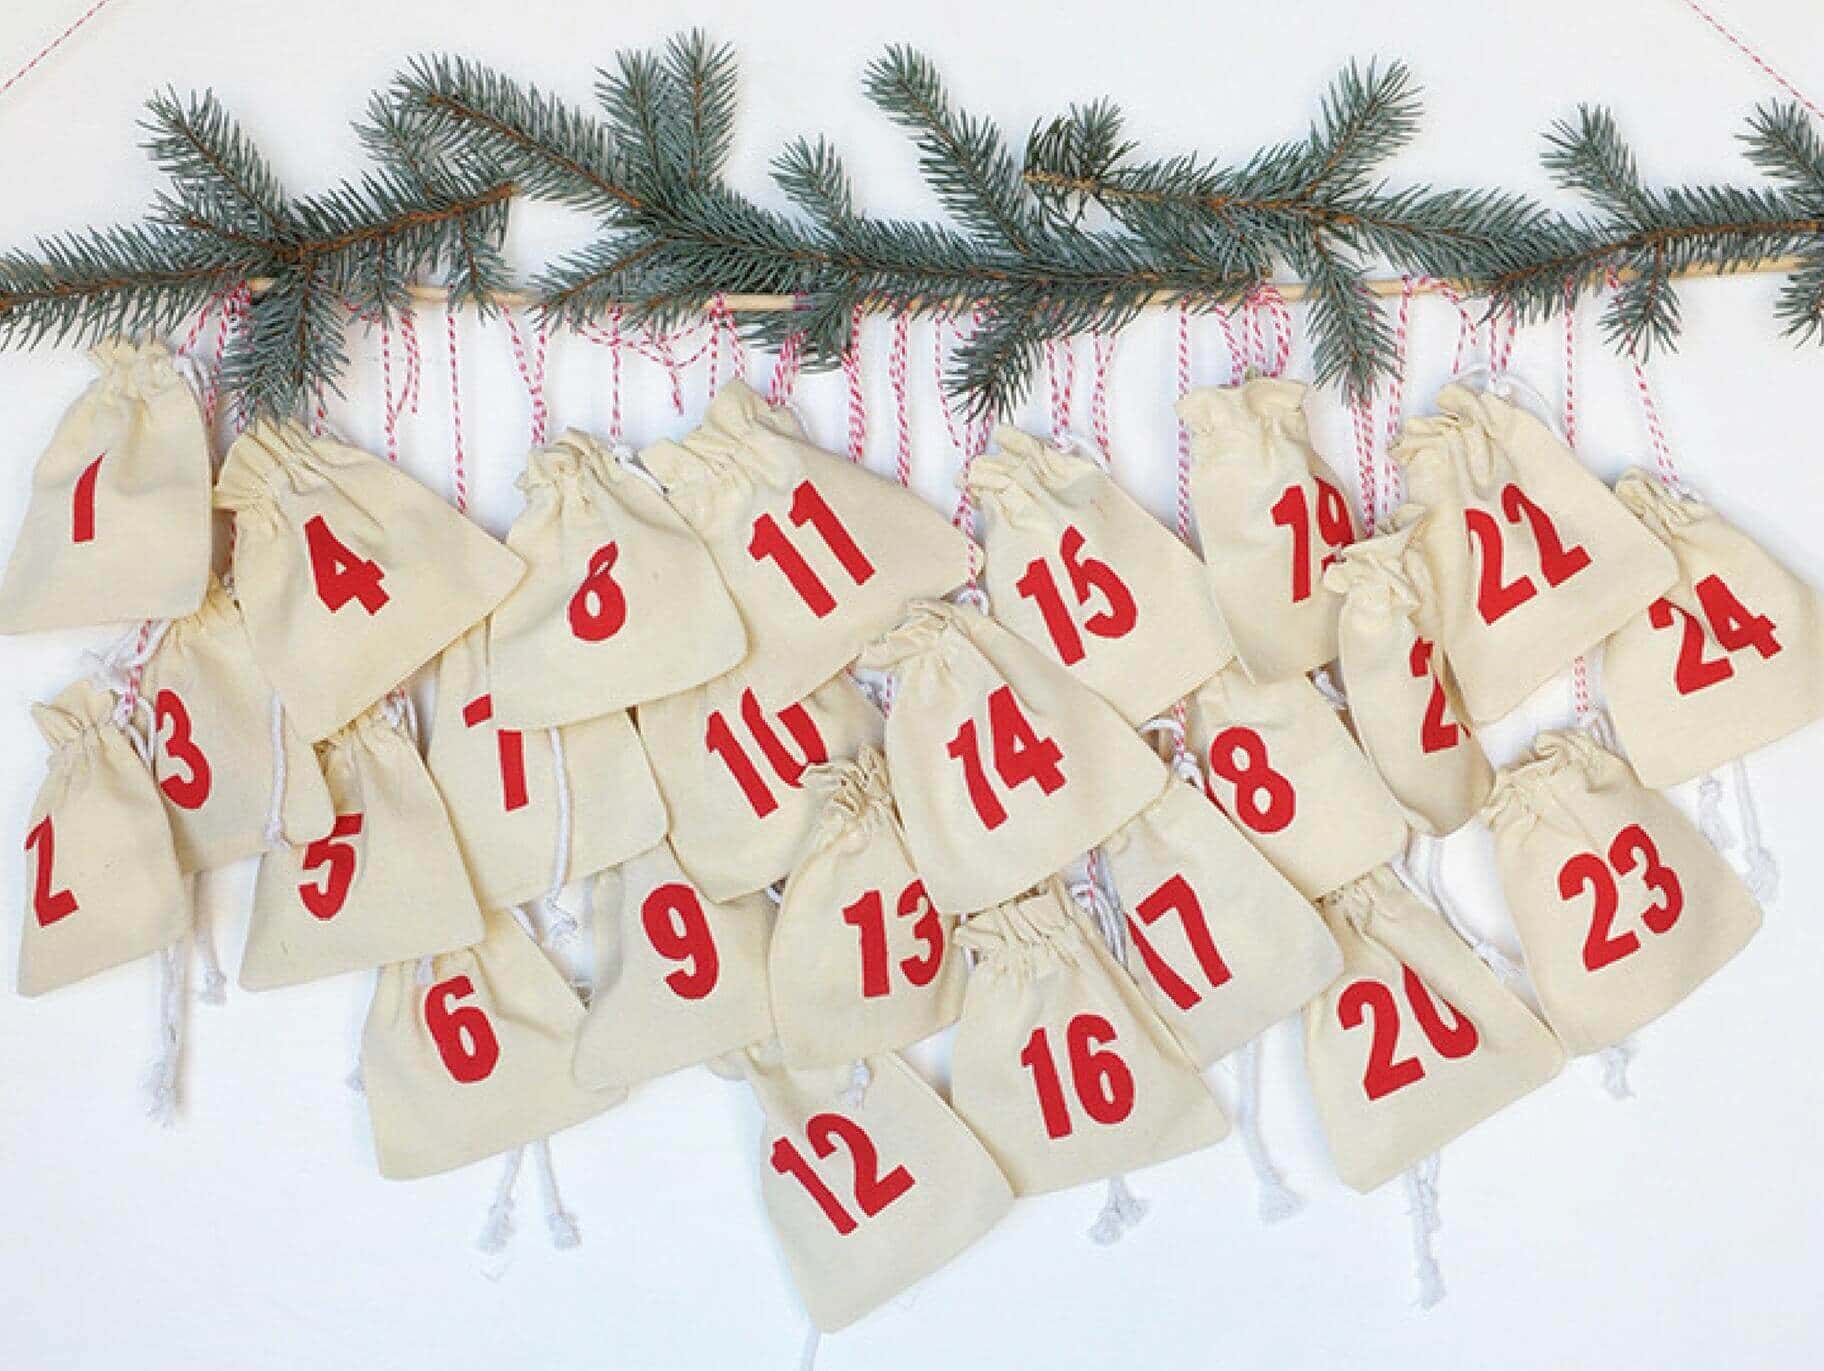
Another very interesting and useful DIY is a cloth calendar cum utility holder. Take two handy pieces of stiff cloth. Keep one, cut the other into strips and fold one side of each strip. Now attach these strips in the bigger one. Make 32 pockets to make an even number. Using acrylic colors number the pockets 1 to 31 leaving the first one. On the First pocket attach the name of the month.
source: orientaltrading.com
source: youtube.com
You can keep various things inside this pocket and make your room clutter-free. Select a marker of any sort and clip that particular date pocket. You can even organize to keep things in particular pockets on which date you need it, for example, a medicine.
source: artmyideas.com
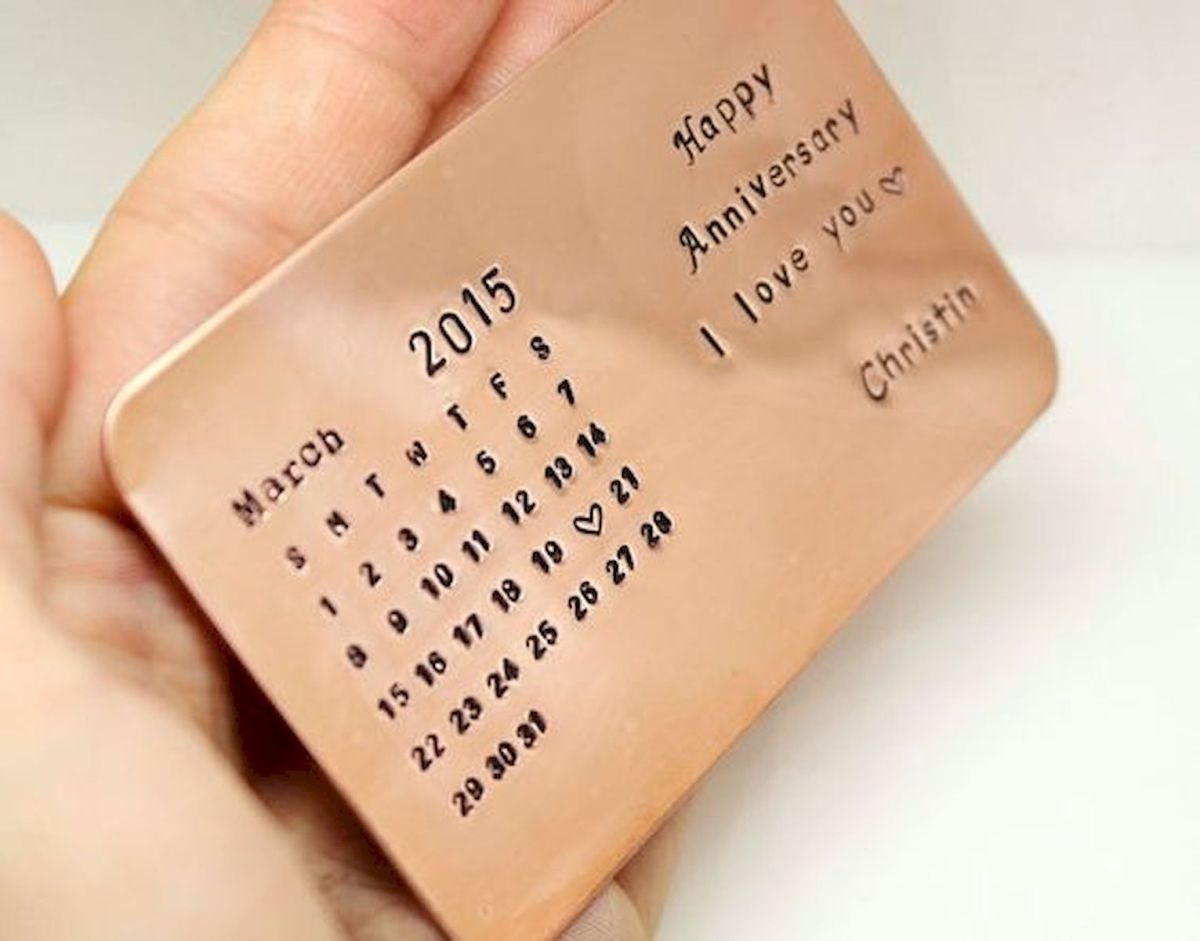
source: googodecor.com
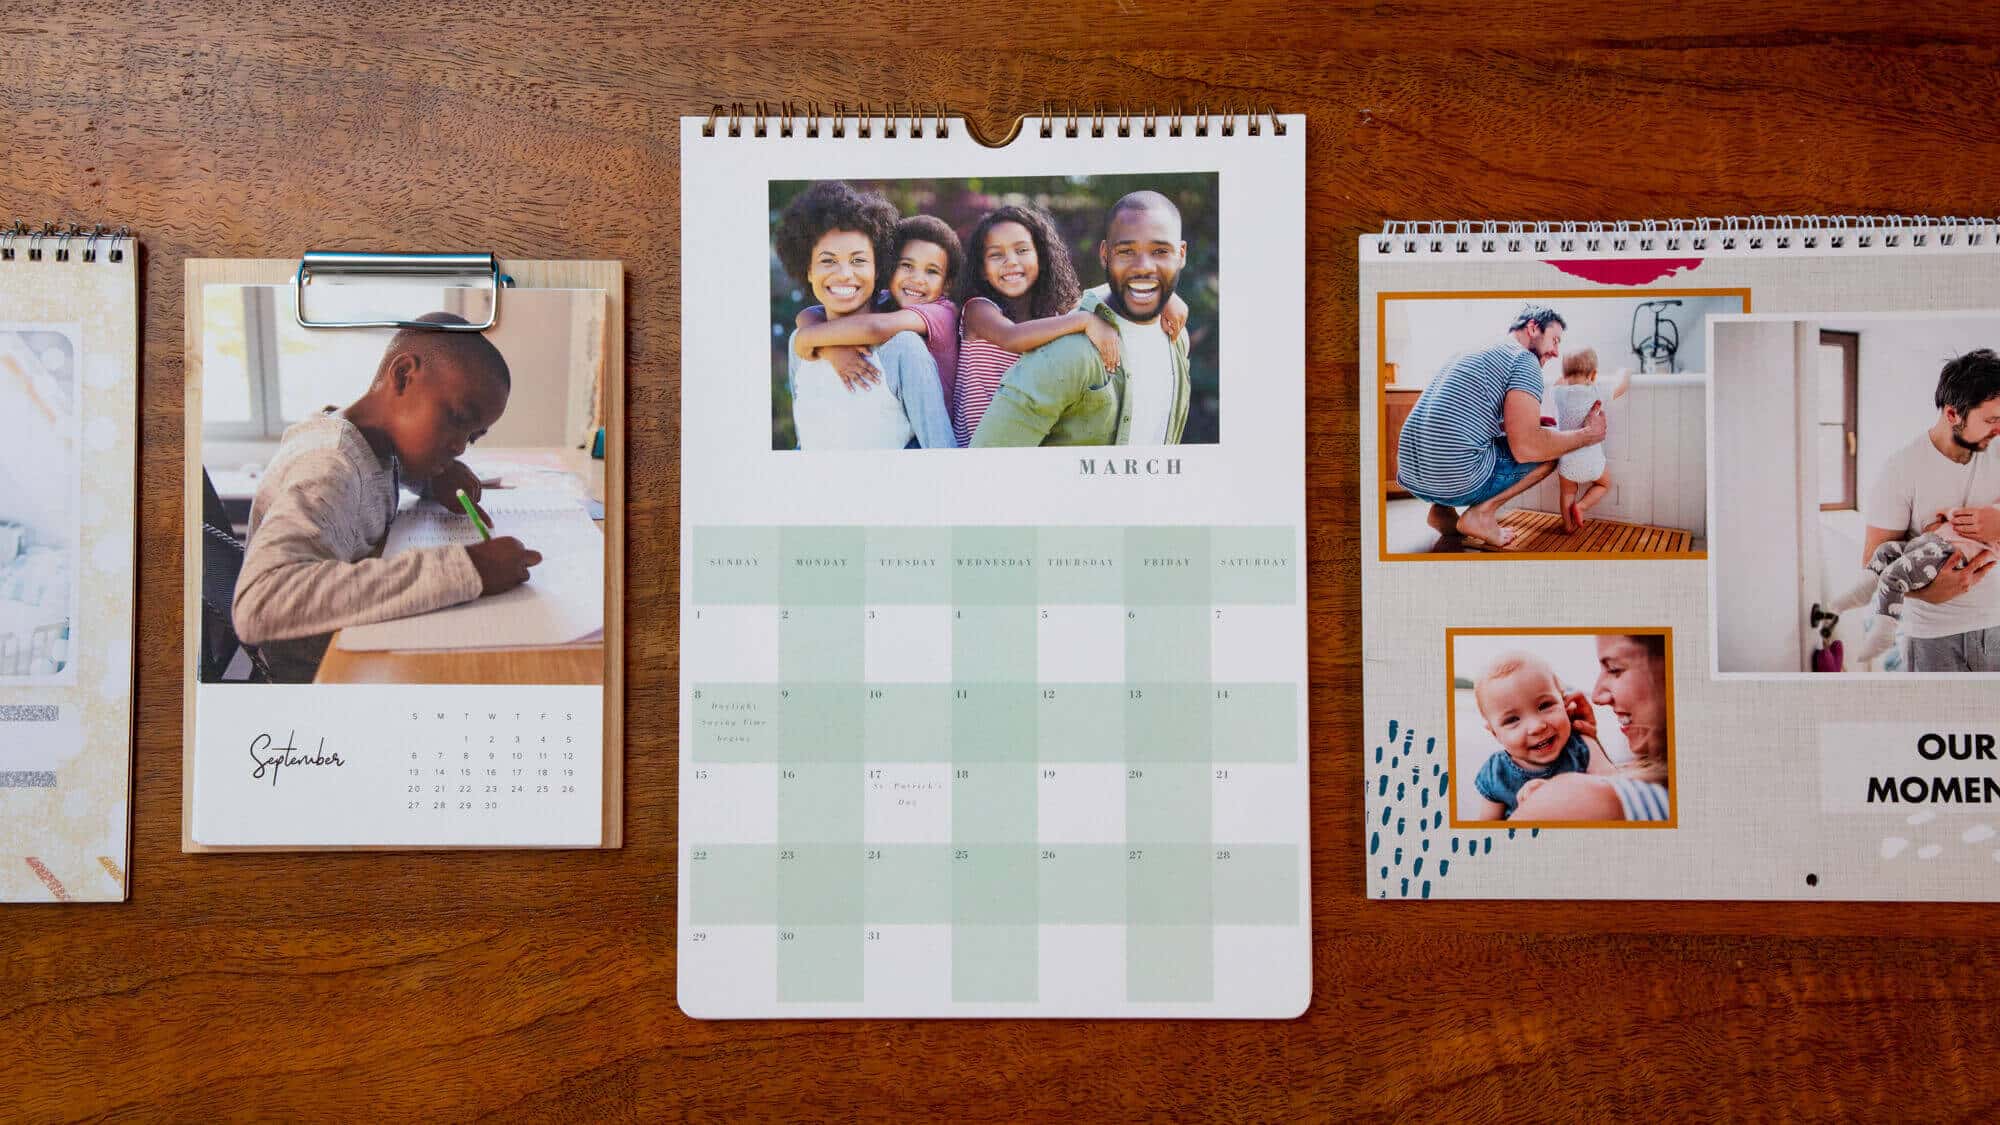
source: tomsguide.com
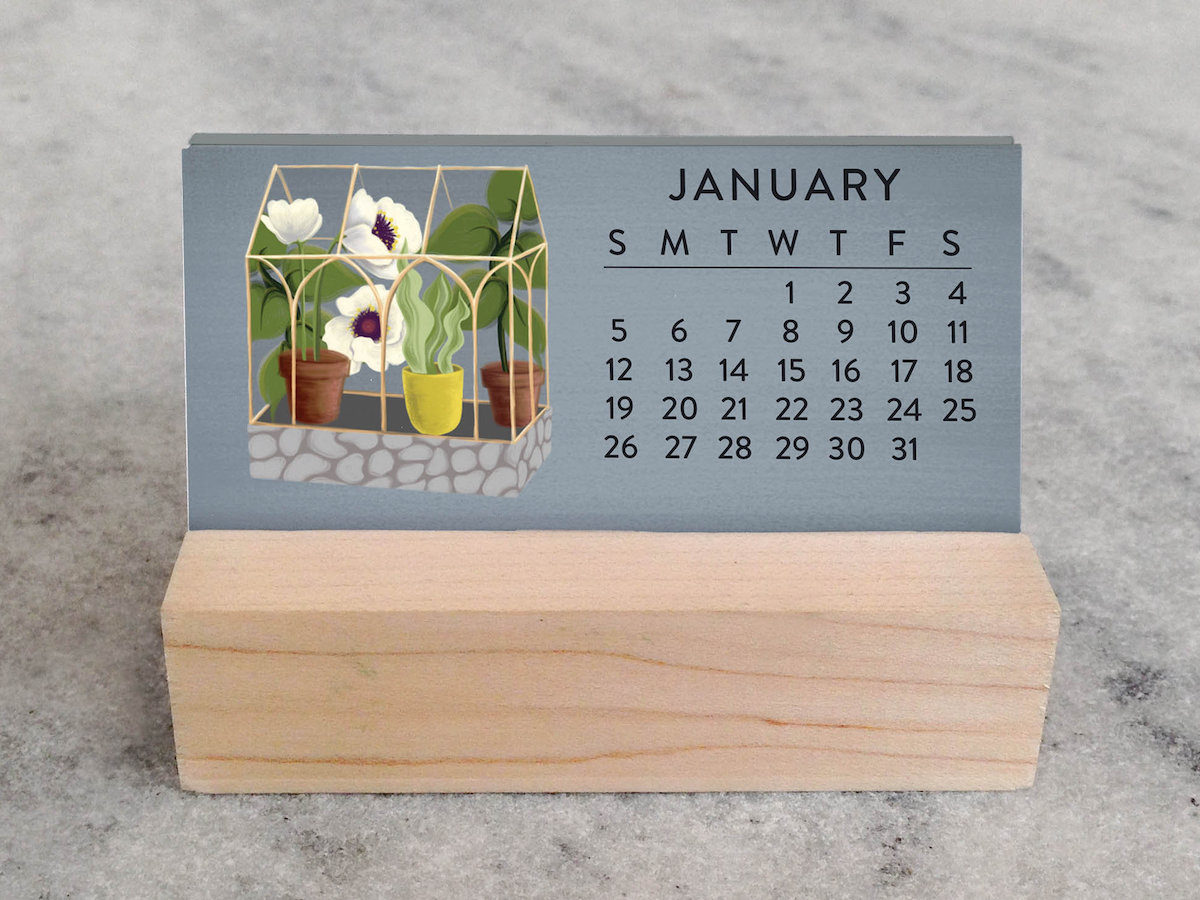
source: blog.esty.com
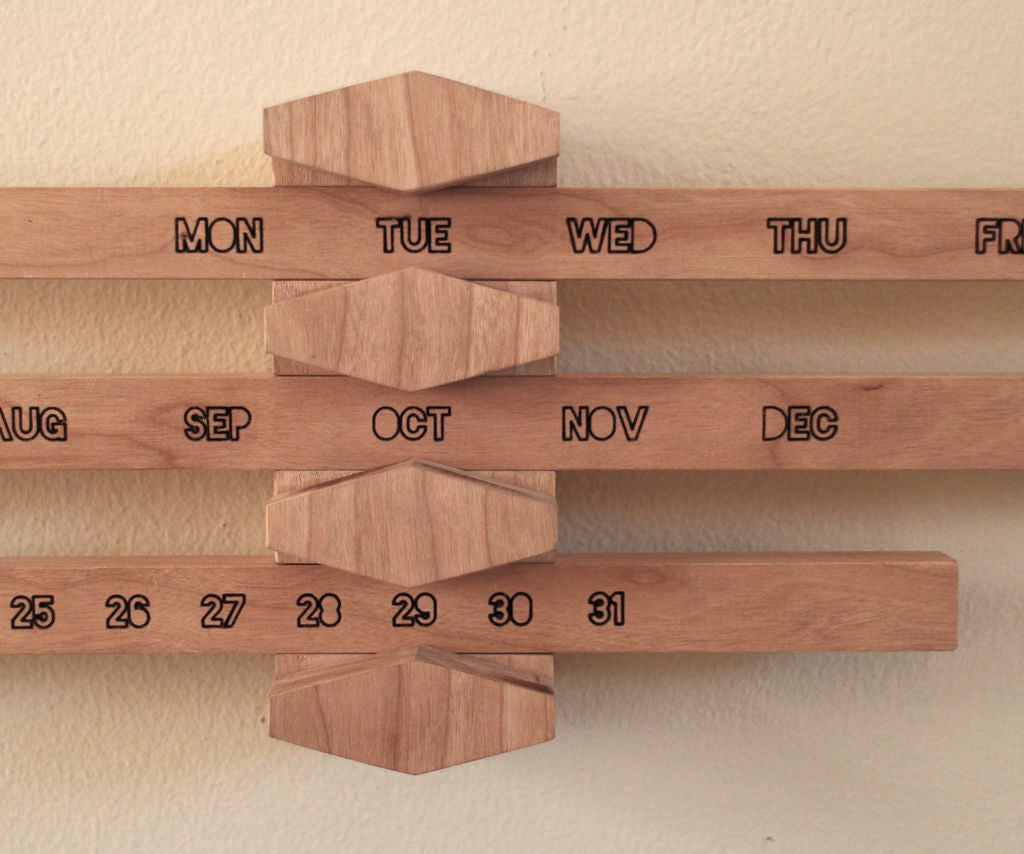
source: pinterest.com
source: diynetwork.com
hope these fascinating ideas will prompt you to make one on your own.

