

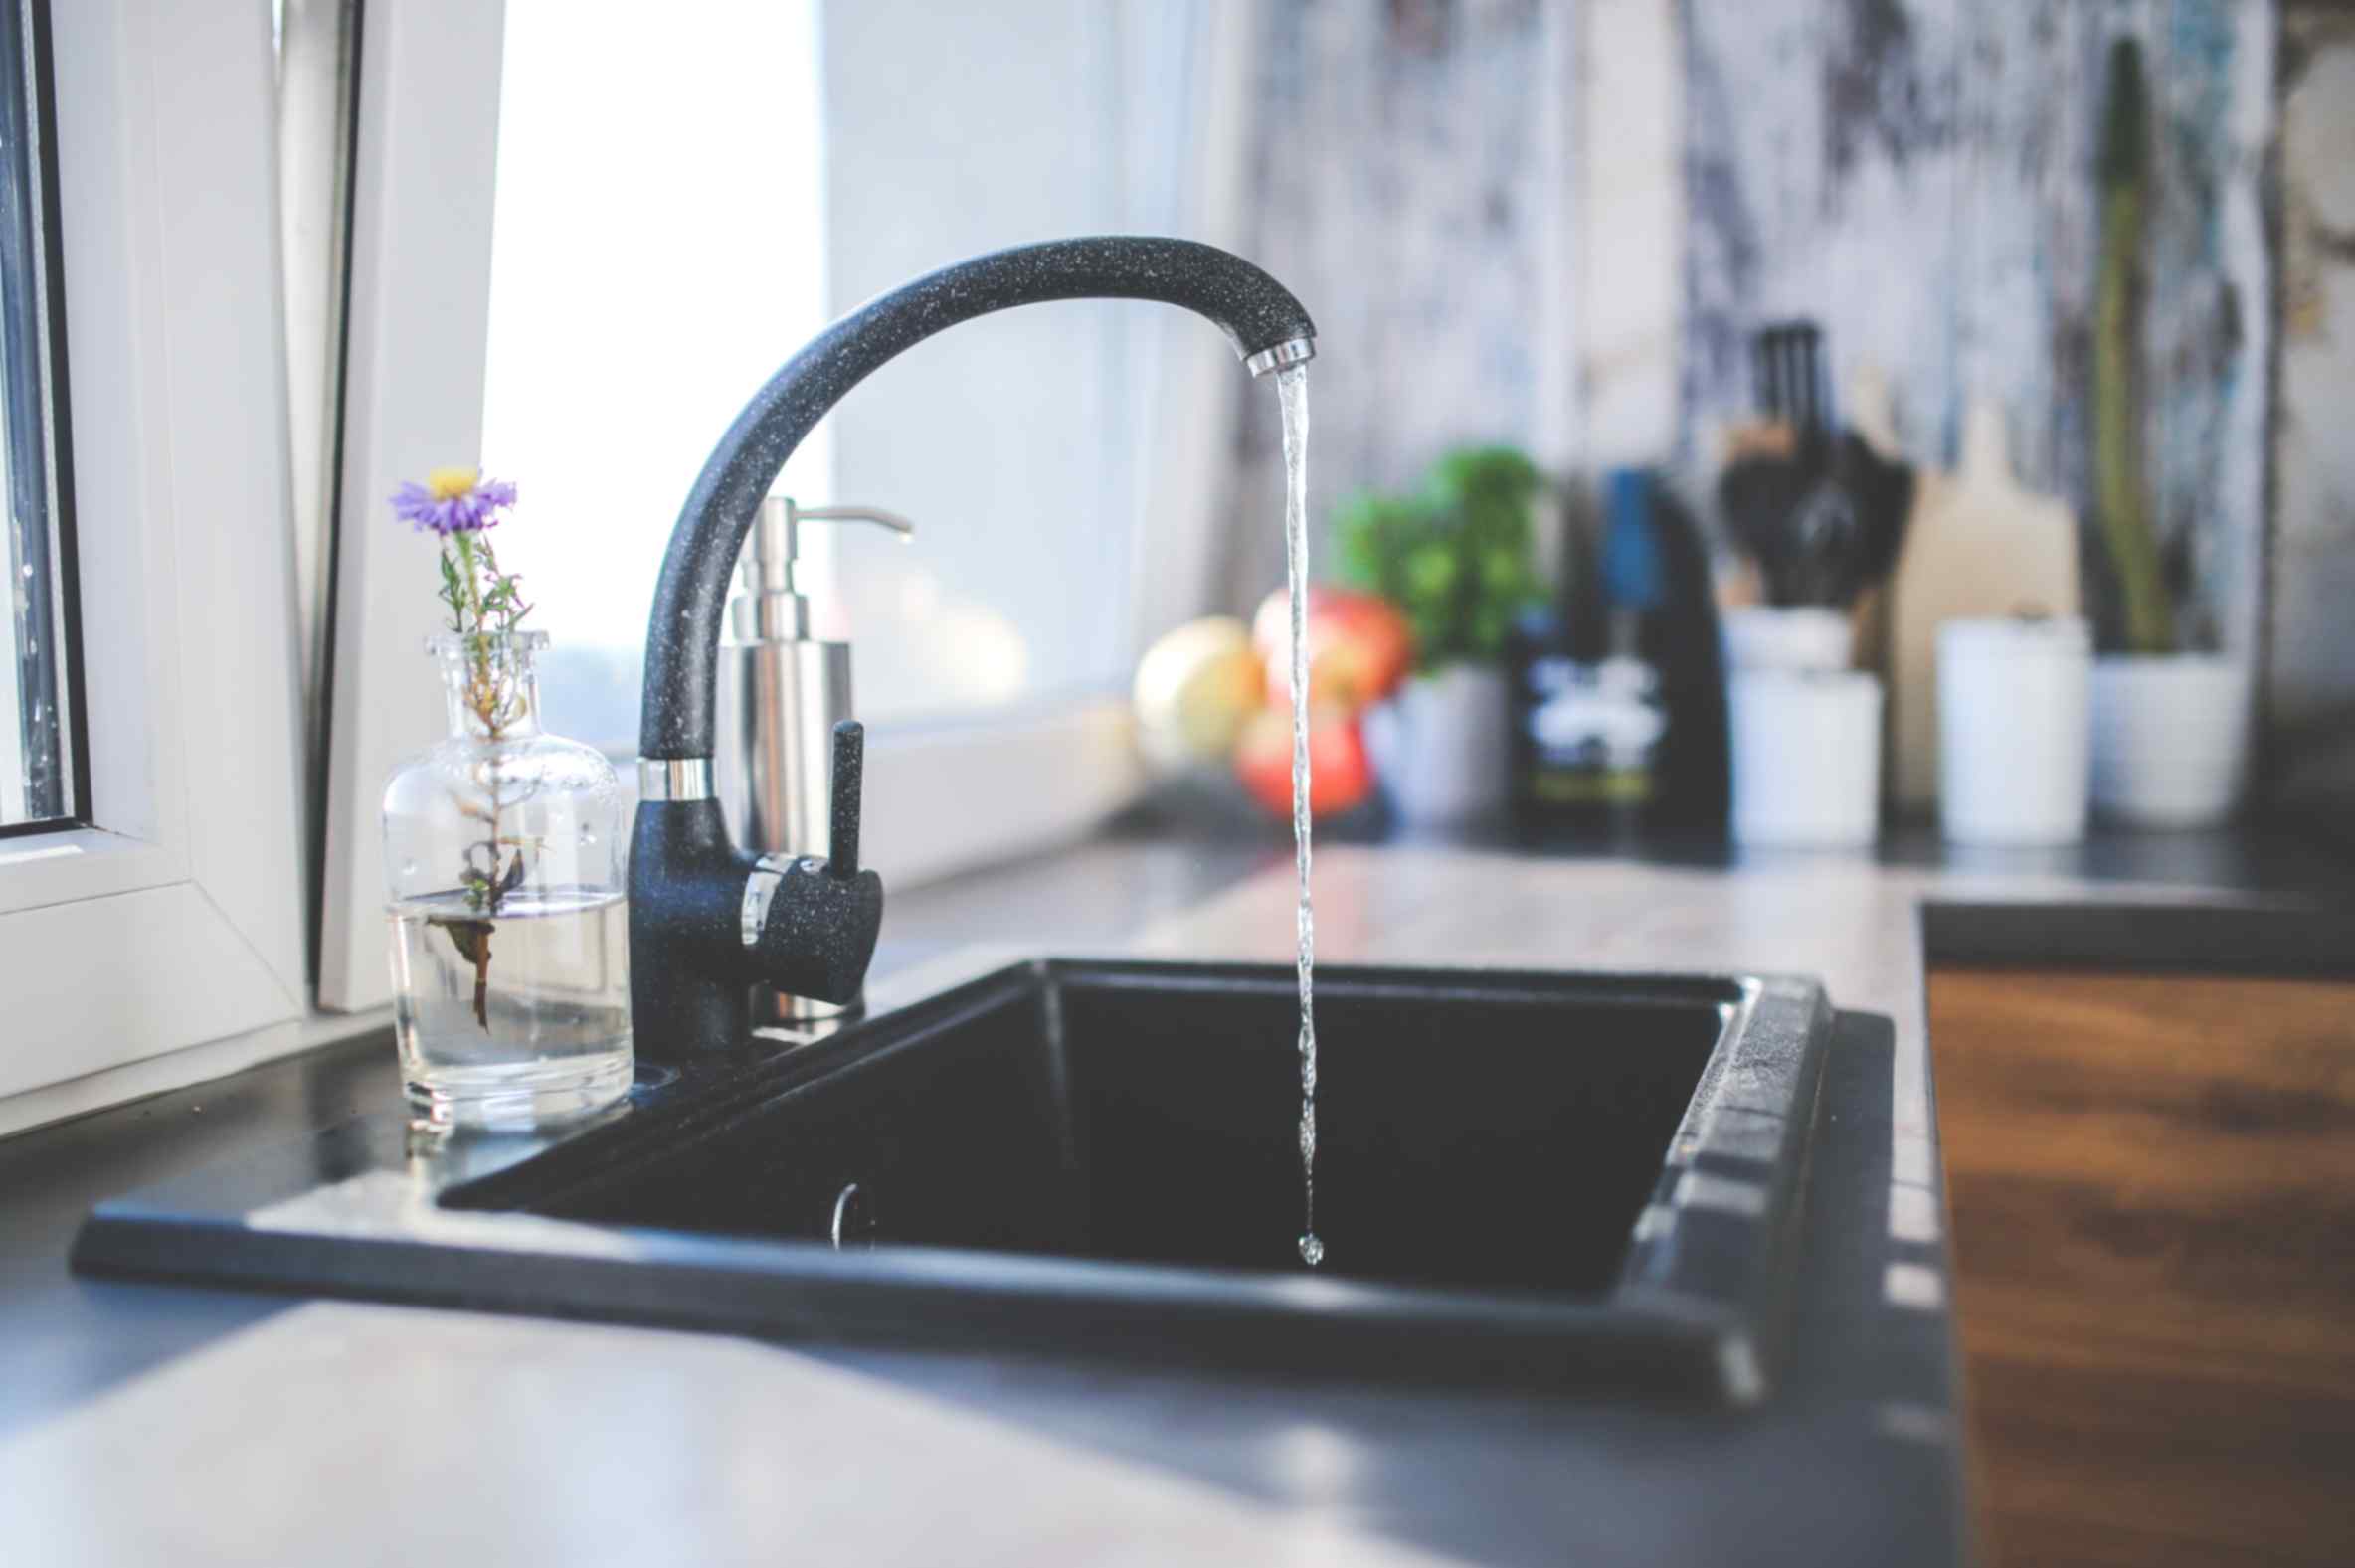
Tired of the rhythmic drip-drip-drip of faucets that refuse to turn off? Well, these sounds grow louder with each passing moment. It’s signaling you that your kitchen and bathroom require an upgrade. Well, it is not just a leaky faucet but the opportunity for a stylish and modern replacement that can transform your space.
So, make your home more functional and beautiful by replacing your old faucet with a new and gleaming one. Wondering how to install a new faucet? Here, we have added a step-by-step guide to installing a new faucet. Scroll below to read:
5 Steps to Follow While Installing Faucets
Well, installing a new faucet can be a daunting task. Hence, many homeowners seek expert help and search for them by entering plumber near me in Noida in varied search engines. However, many homeowners are DIY enthusiasts who can follow the following eight steps while installing faucets:
Step 1: Turn off the water supply lines
 Before starting any plumbing projects, always switch off the main water supply. Under the sink, find the shut-off valves that control cold and hot water lines. Turn them clockwise using a flathead screwdriver to close them fully.
Next, turn on the faucet to check whether the water is completely turned off. If it sputters at first, let it run dry. Also, ensure all the connections are protected and identify the leak underneath. Preparation begins with cutting off the supply lines so you won’t accidentally splash water all over while removing the hardware.
Step 2: Disassemble the Old Faucet
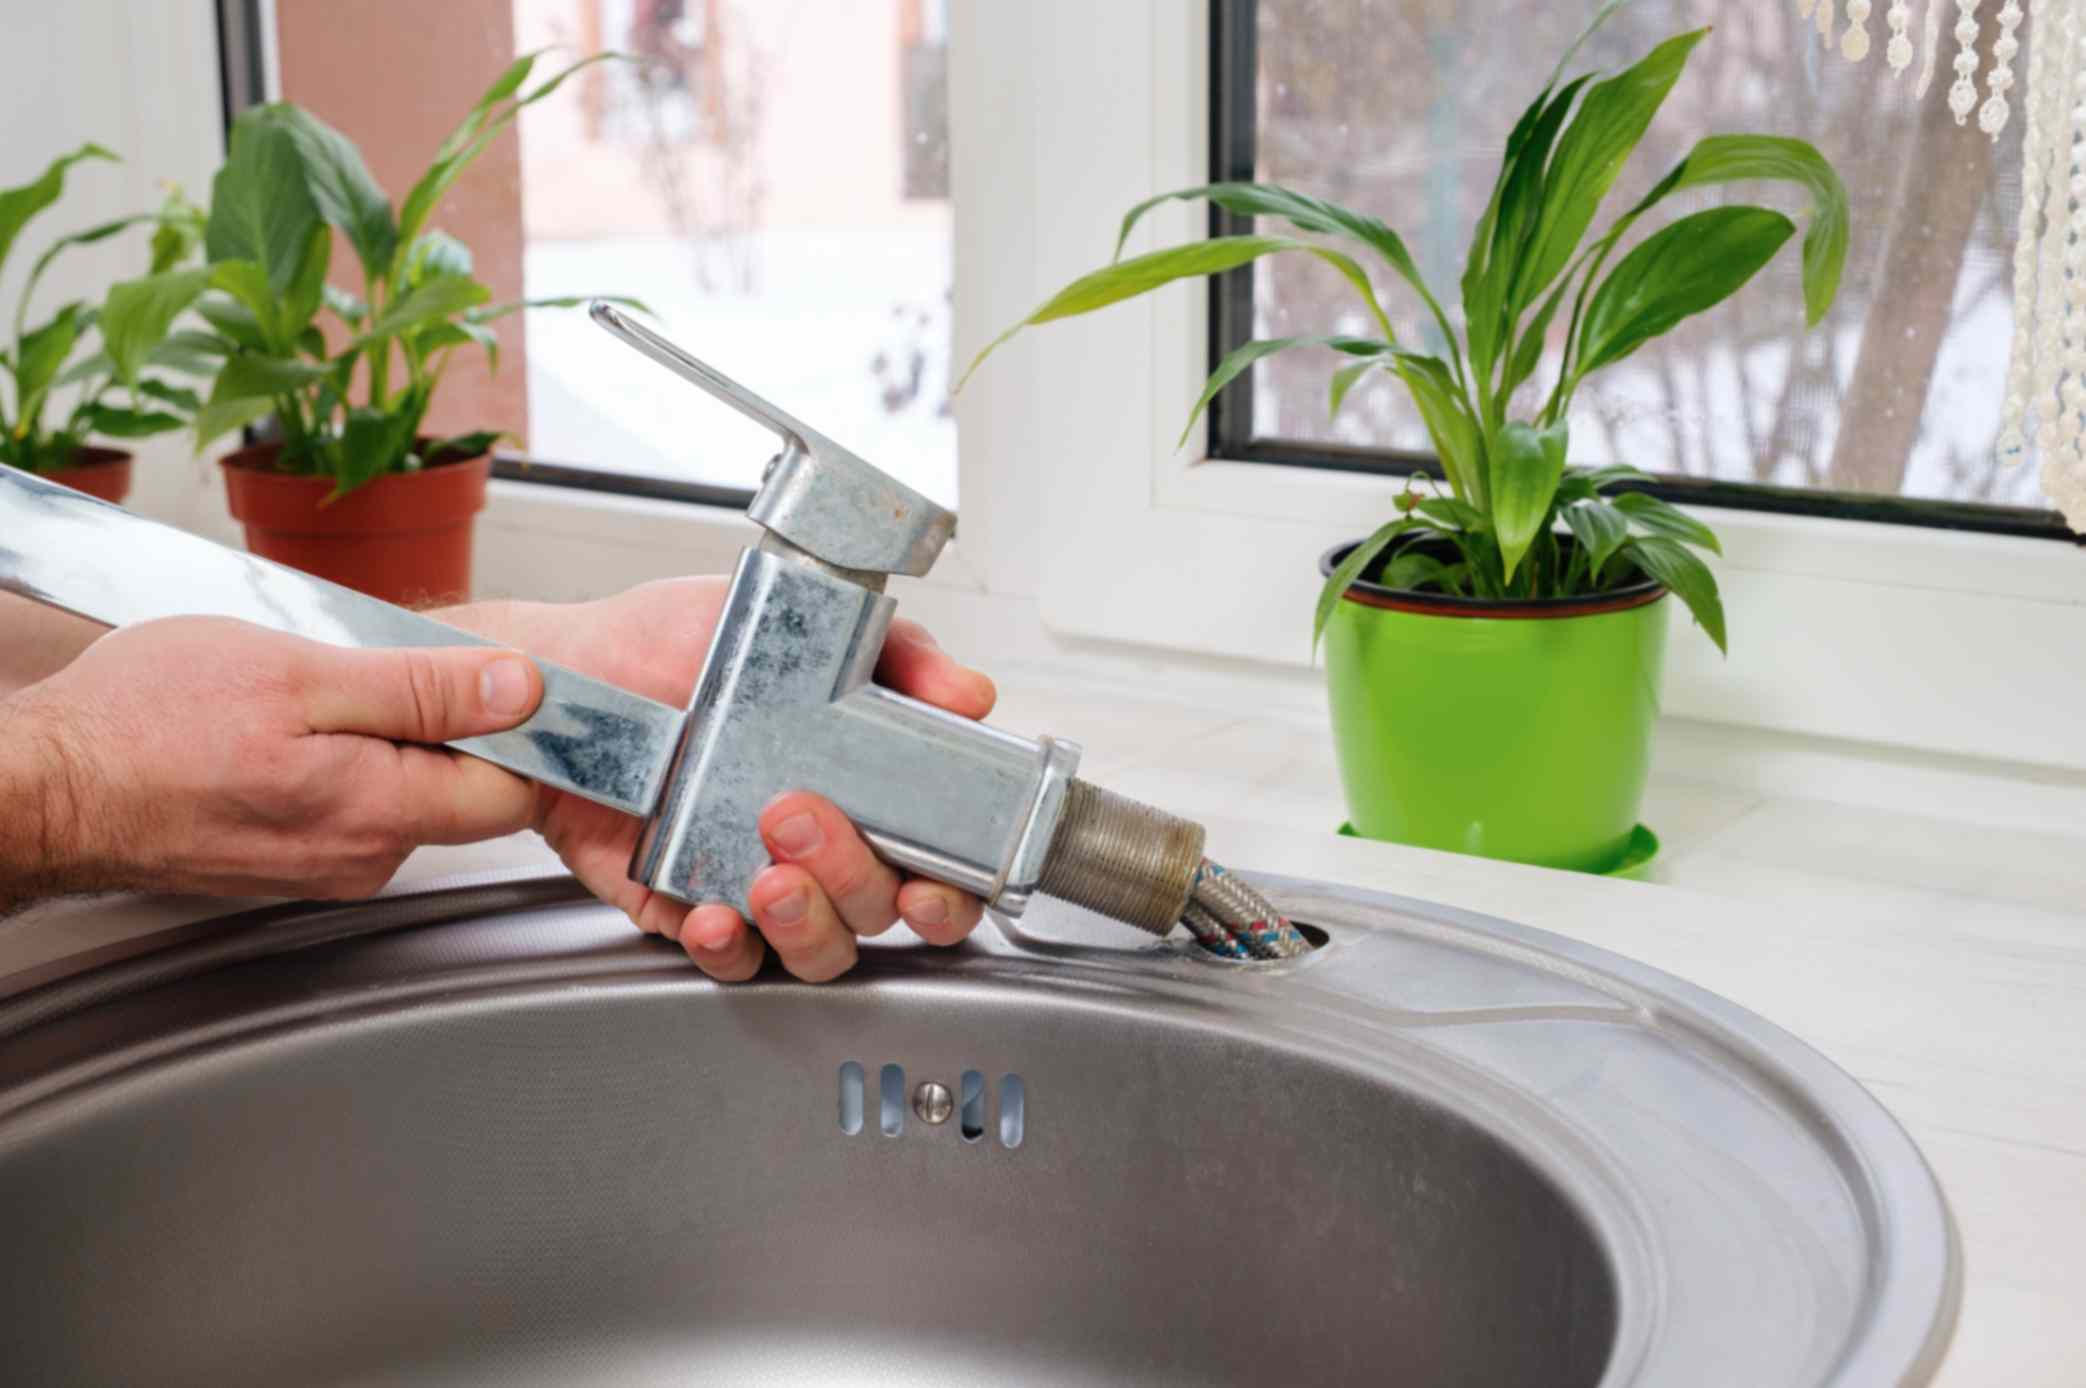 As the water is off, it’s time to remove the installed gear. Most bathroom and kitchen faucets are secured with nuts on the underside of the sink. You must release and unscrew these nuts to remove the fixture.
First, unclip the supply wires connecting the faucet to the shut-off valves. Use an adjustable wrench to loosen the connection nuts where the lines meet the faucet inlets.
Next, you should reposition the elaborate escutcheon plate that hides the mounting screws and nuts at the base of the light. Prying off any caulk that was keeping it in place could be necessary.
Use a basin wrench to reach behind the sink and loosen the mounting nuts. Plumber’s putty or silicon glue are commonly used to fill the gaps, so be prepared to use a lot of force while turning the wrench. To get the nuts off, you should use considerable effort.
After removal, the faucet assembly may be lifted and removed from its installation. Look around the sink area and scrape out any putty, dirt, or residual caulking. Now that the sink is set up, the new faucet is operational. You can also search for plumbing services near me in Noida to get expert assistance removing old faucets.
Step 3: Prepare the New Faucet
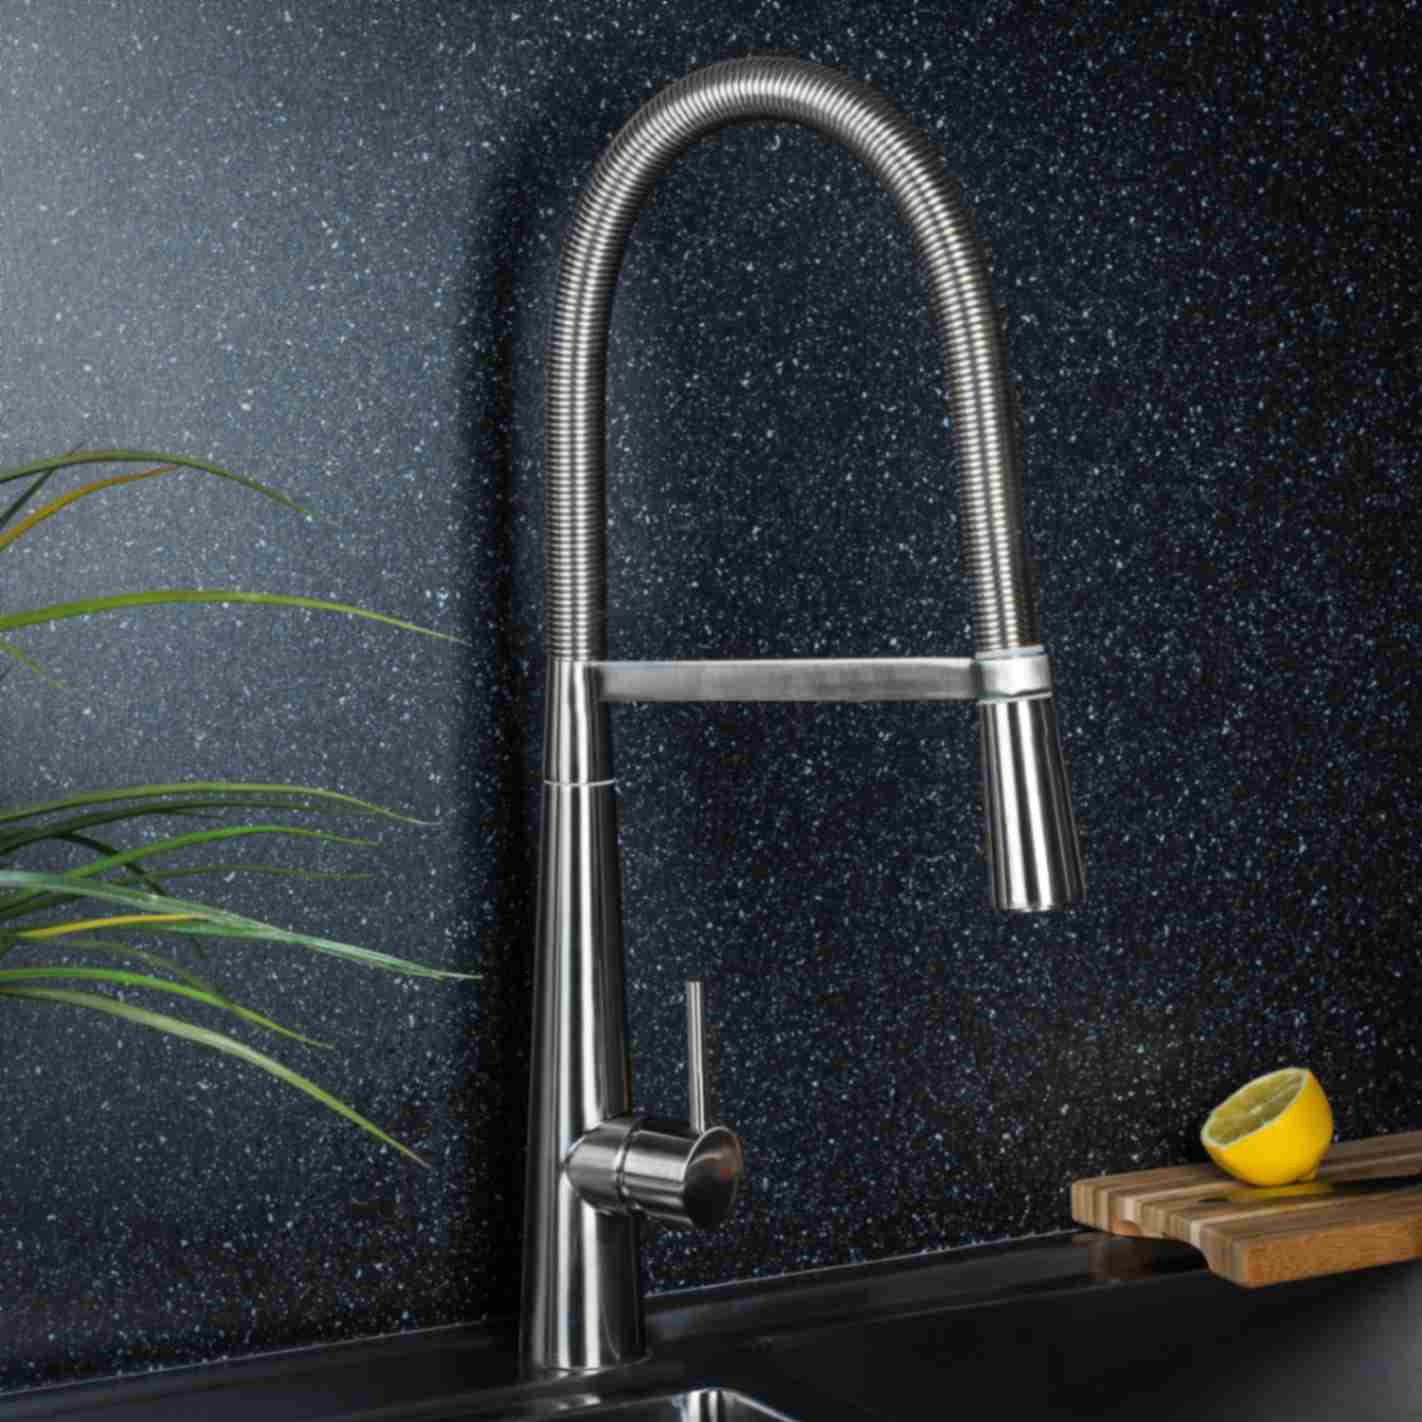 Before you install your faucet, thoroughly read the installation instructions that came with it to understand every part and piece of hardware. Next, connect the flexible supply hoses to the faucet’s inlet ports. It later simplifies plumbing connections. If your sink requires it, insert a deck plate for single-hole mounting to conceal unused holes, enhancing stability and appearance. Carefully lower the faucet into position to ensure a proper fit. Prepare in advance to guarantee correct placement before firmly securing the faucet.
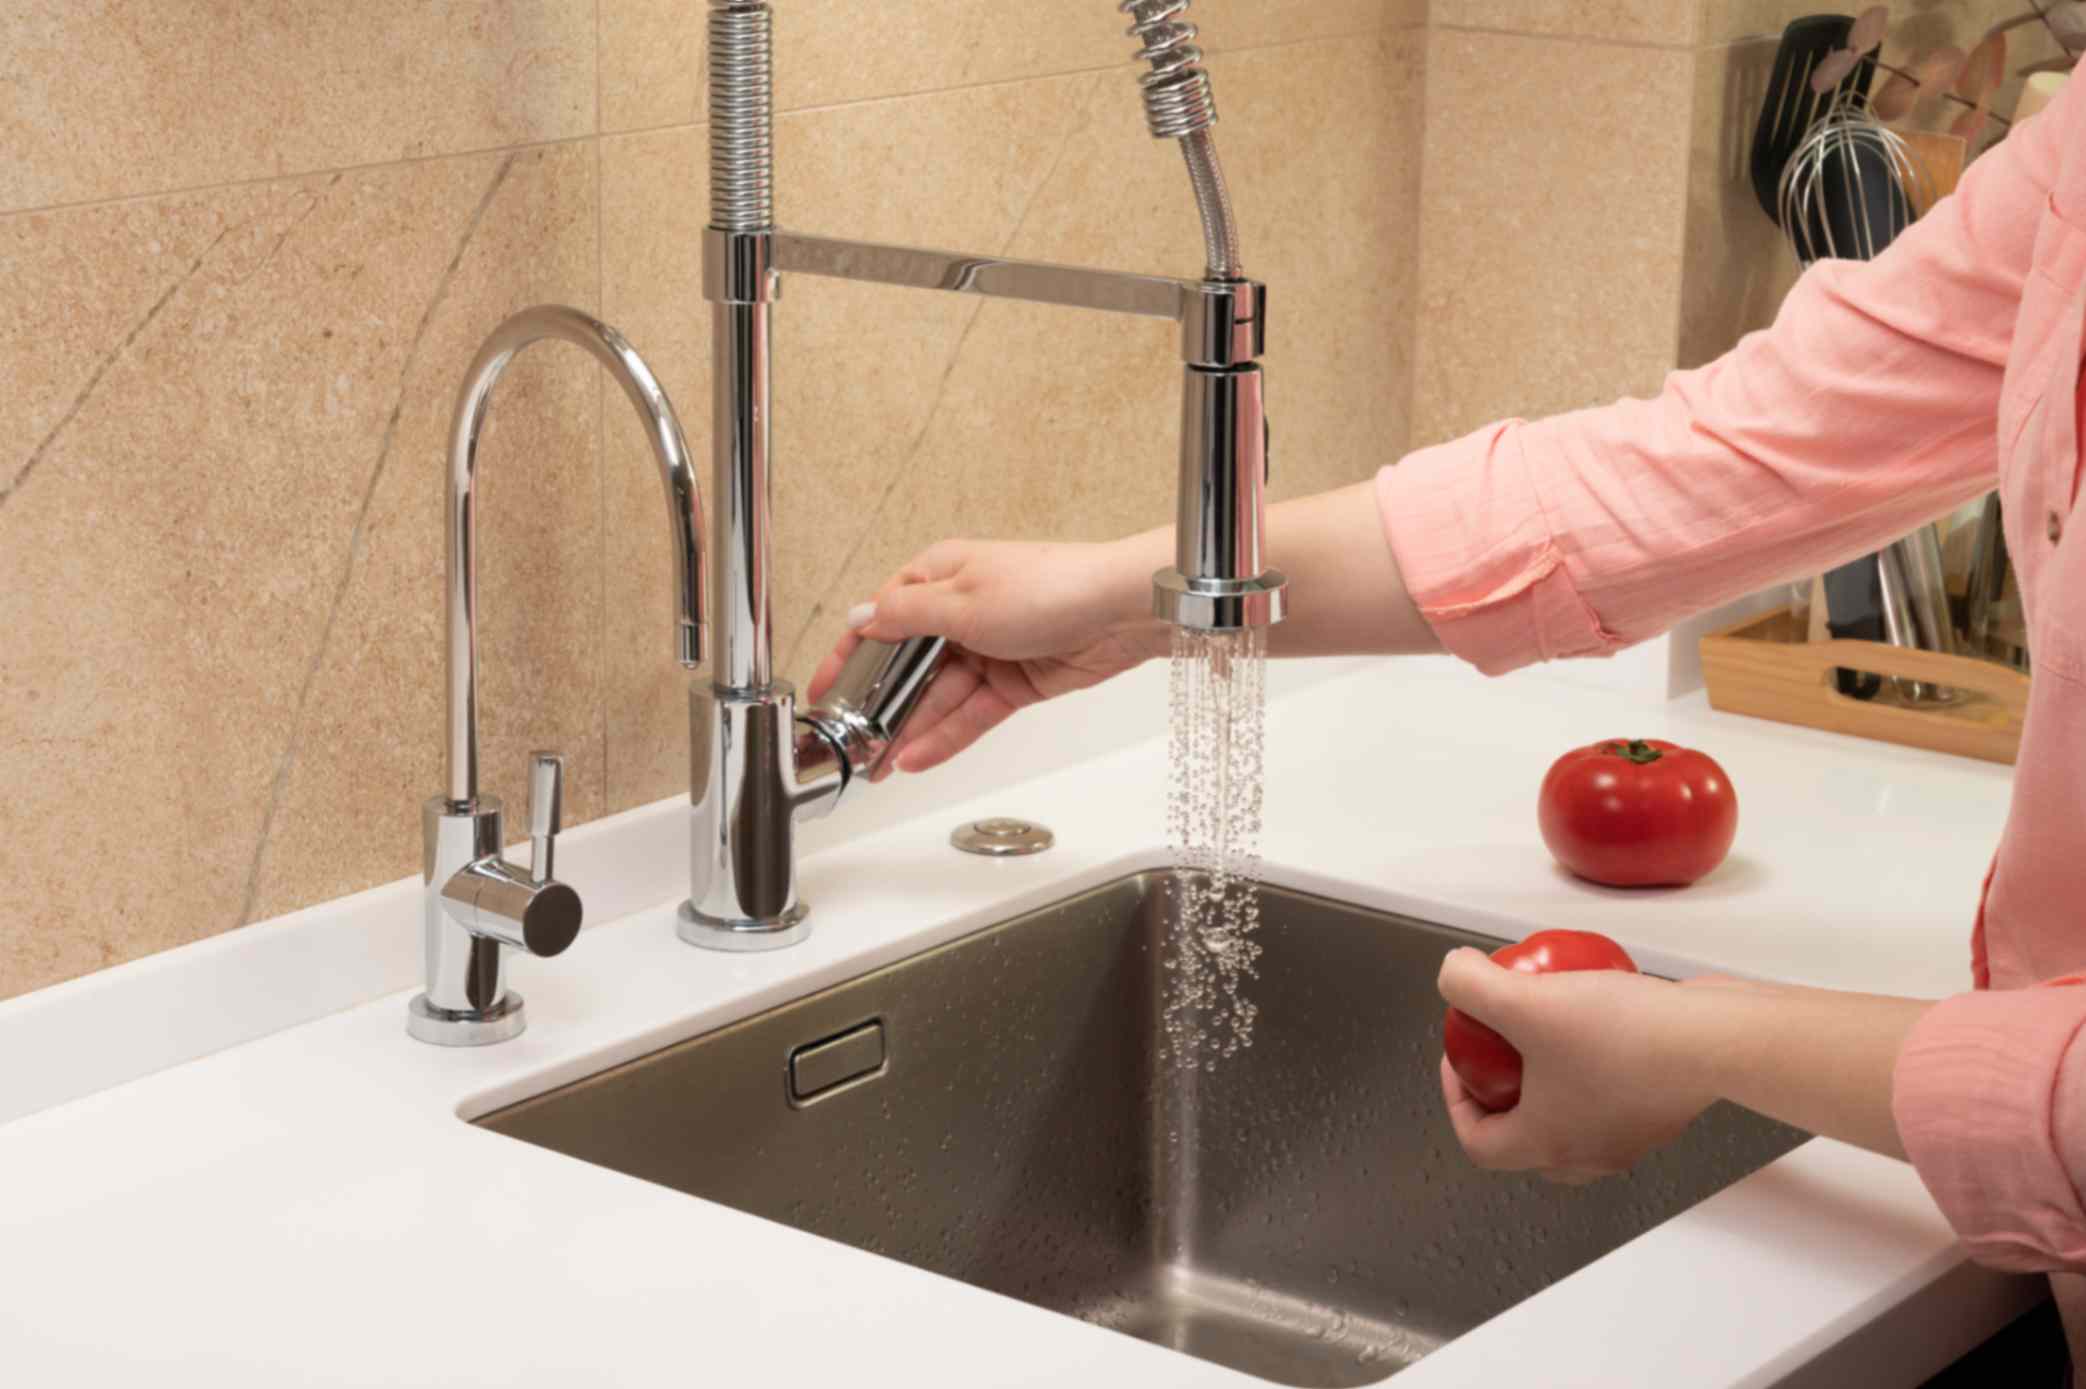
Step 4: Mount the New Faucet
 The preliminary planning has been completed, and the new fixture needs to be mounted. After completing the essential planning, the latest fixture has to be installed. The base should be wrapped with an O-ring or faucet gasket before the bottom end is put into the sink’s aperture.
Before tightening the faucet, make sure it is appropriately positioned. The handle and spout must have straight lines aligned with the backsplash. Homeowners may find it challenging to mount the new one. Hence, opting for home services in 30 minutes by NumberDekho will be beneficial as their experts can easily tackle all the complex issues.
Step 5: Connect the Water Supply Lines
 At this point, the faucet and sink are securely fastened. Next, essential water connections must be made. The plumber’s tape should be applied first to the supply lines’ threaded ends. To cover three or four threads, turn it clockwise. This tape eliminates leaks and creates a tighter seal.
Connect the water supply hoses to the shut-off valves under your sink. An adjustable wrench should be used to tighten the connections. Repeat this process to attach the other hose ends to the faucet inlets.
Conclusion
A new faucet adds style and efficiency to any kitchen or bathroom, making the space look fresh again. However, it is easier than one might think, and the steps highlighted above are well-aligned with any do-it-yourself approach. Before you fix the new faucet, switch off the water supply before removing the existing faucet.
Follow all specifications for mounting the latest fixture and ensure that all connections are adequately tightened to avoid junction leakages. As always, if any part of the process is daunting, it is recommended to get professional assistance.
Through NumberDekho’s Home Services within 30 Minutes, you don’t need to wait long to get professional help to solve such problems, if any. Whether you prefer the hands-on approach and perform the repairs yourself or phone a plumber, removing the old faucet is a satisfying and rejuvenating endeavor that offers rejuvenation to any area.
Customers feel good about the excellent experience you have given them and the comfort brought about by that new, clean-looking faucet.