Introduction
A table saw is an important tool in the arsenal of any enthusiast woodworker or DIYer. This tool is excellent at making quick, precise work of repetitive cutting jobs. In case you are heading to the market or you have just acquired one read www.handyman.guide to know what is a table saw and how to use it.
What is a table saw?
Also known as a bench saw or sawbench, a table saw is a woodworking tool comprising of a circular blade attached to an arbor, which is powered by an electric motor. Angles of the cut are controlled by adjusting the angle of the blade.
How to use table saw steps by steps guide
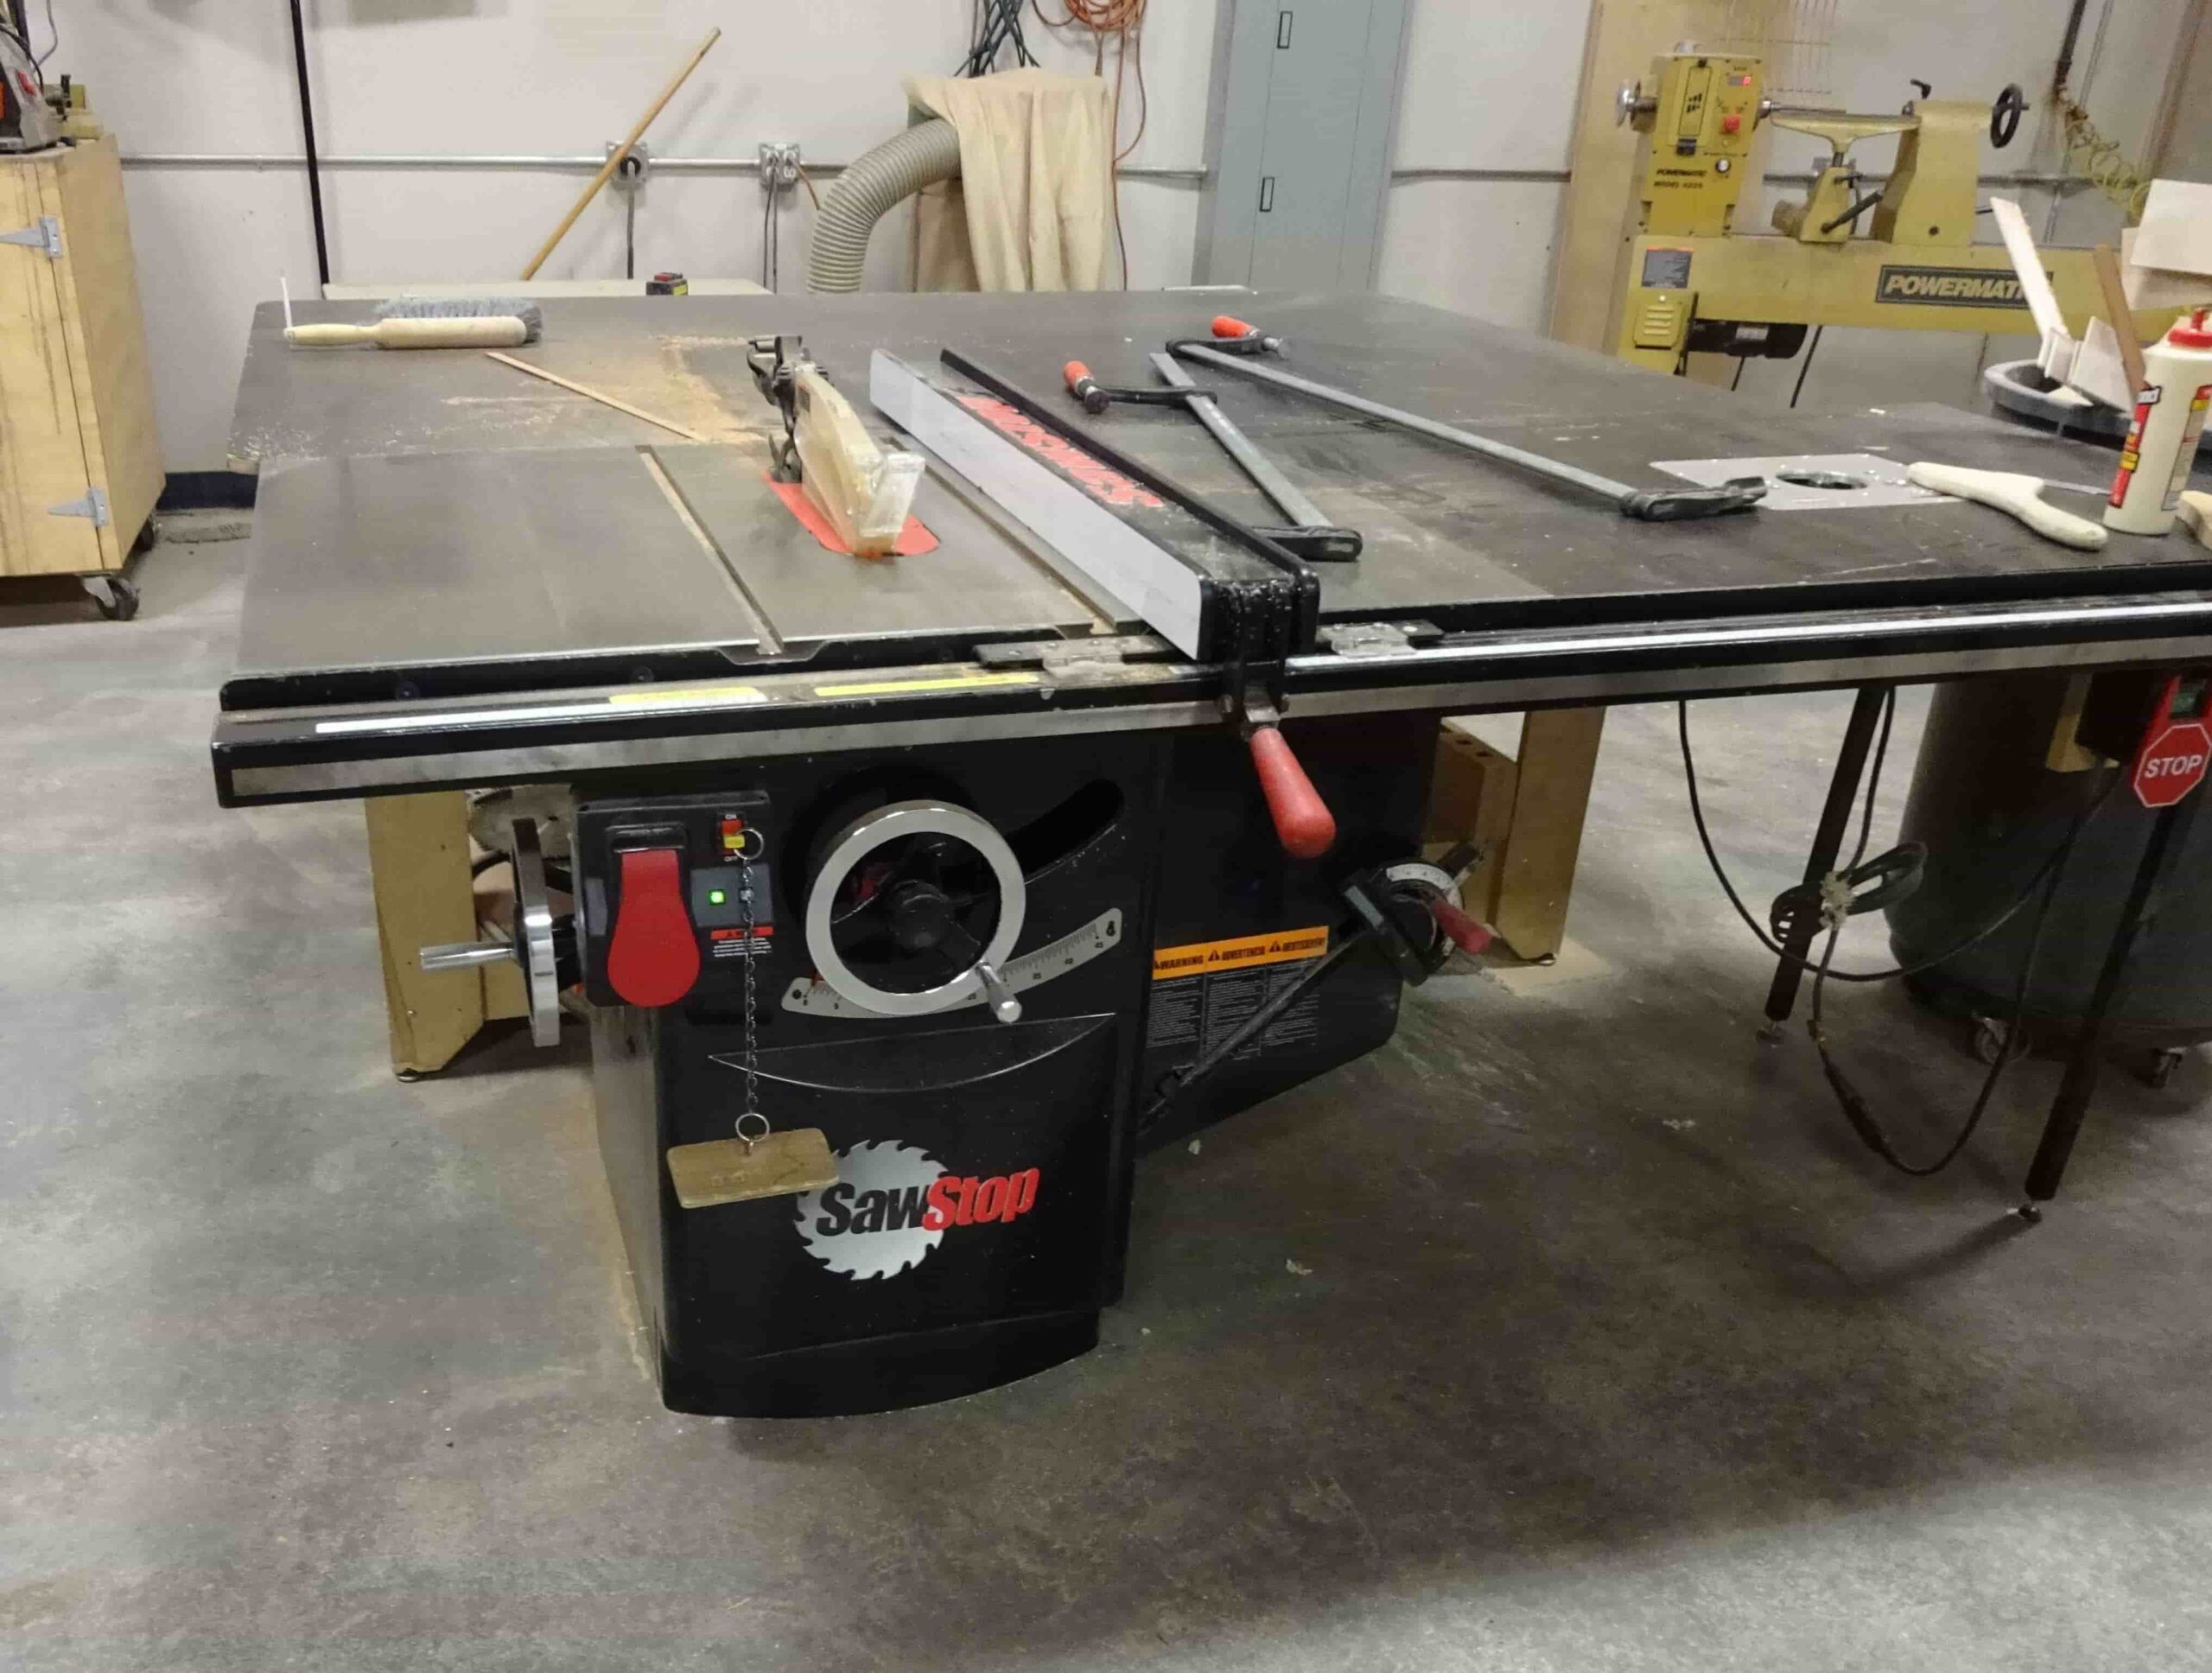
source: en.wikipedia.org
How to Rip With a Table Saw
Ripping is the easiest task to do on a table saw. The table saw features a rip fence that adjusts to the width of the required cut and it acts as a guide to control the wood while cutting.
STEP 1
Disconnect the saw from a power source and fit a rip blade that is suitable for the material you intend to cut. Adjust the blade height and make sure it does not raise above ¼ of the thickness of the material you want to cut. For instance, when ripping a long piece of wood from maybe ½ plywood, the blade should be set no higher than ¾ above the tabletop.
STEP 2
Release the locking lever positioned on the front of the fence to position the rip fence. The table saw usually has a ruler on the front to help you put the fence in the right position. However, don’t rely solely on the ruler when measuring your cut. Instead, use a precision tape measure to establish the distance from the fence to the nearest edge of the teeth of the blade. By doing this, it will be easy to account for the amount of wood the blade will cut away during cutting.
STEP 3
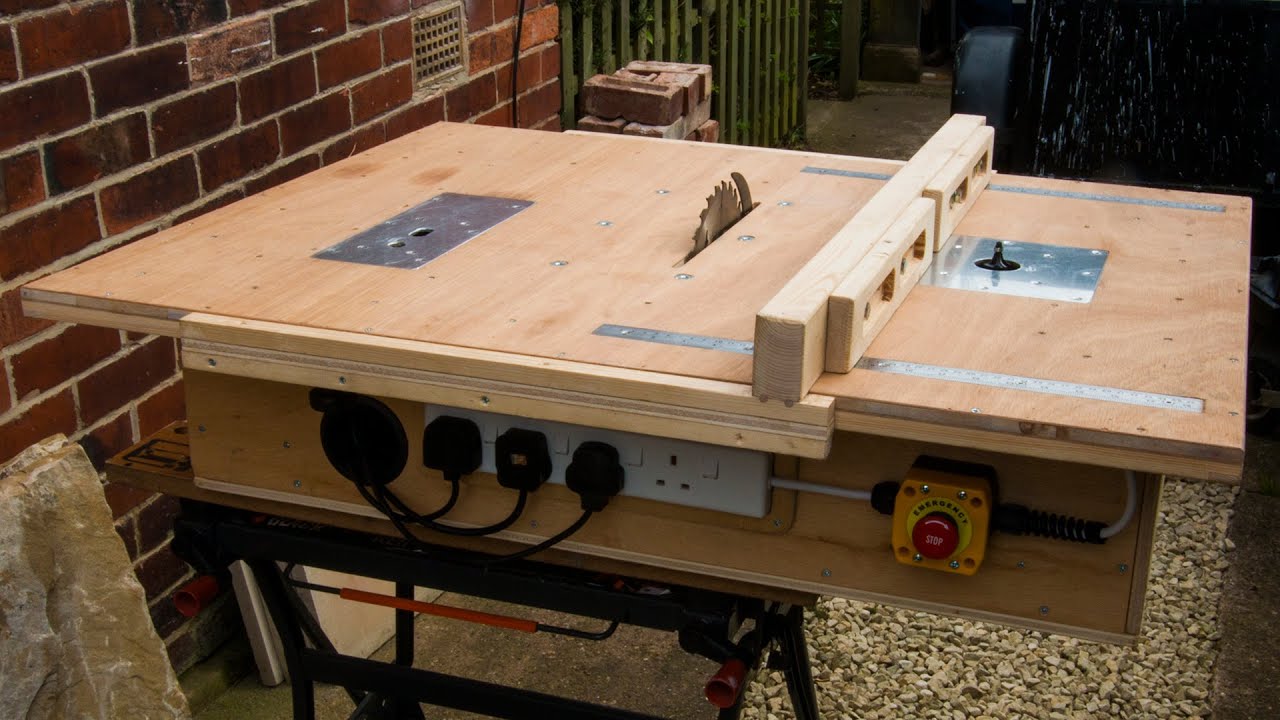
source: pinterest.com
Connect the table saw to a power source and place the piece of material to be cut on the table, align it with the rip fence. Don’t allow the material to be in contact with the blade until the saw has been turned on and the blade attains maximum speed. Be assured of a kickback if the material comes into contact with the blade before it attains the required cutting speed.
STEP 4
Use one or both hands to guide the material slowly and firmly along the rip fence. When slicing through thick, large boards, always use both hands to guide the material at the beginning, and then switch to one hand when cutting nears completion. In case the material you want to cut extends beyond the table, get someone to support it or use a table extension to support it as you cut to keep it flat all the time.
STEP 5
If necessary use a push stick to keep your finger away from the blade. A push stick is made in a way that guides the material when making narrow rips that may put your fingers close to the moving blade. Don’t take chances; always use a push stick when making narrow rips. Your safety should come first.
Crosscutting with a Table Saw
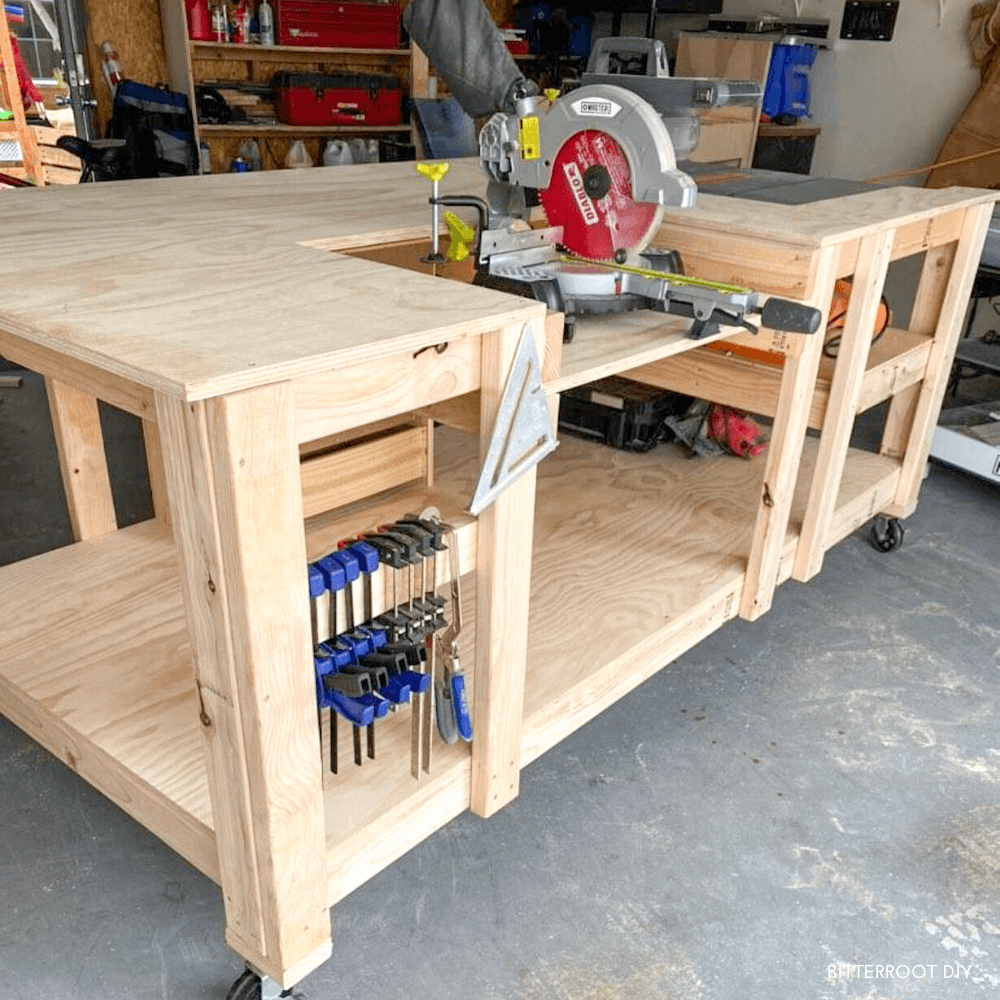
source: bitterrootdiy.com
STEP 1
Disconnect the saw and insert the crosscutting blade into the arbor.
STEP 2
To make either angled (mitered) or straight crosscuts, make sure you adjust the protractor guide on the miter gauge.
STEP 3
Position the material you want to cut along the front edge of a miter gauge. You can use clamps to keep it in place if necessary.
STEP 4
Connect the saw to a power source and switch it on. Don’t allow the material to come into contact with the blade until it reaches the required spinning speed.
STEP 5
Slide the material you are cutting and the miter gauge forward slowly and carefully through the spinning blade.
STEP 6
Switch your table saw off before removing the cut-offs near the blade.
Frequently asked questions
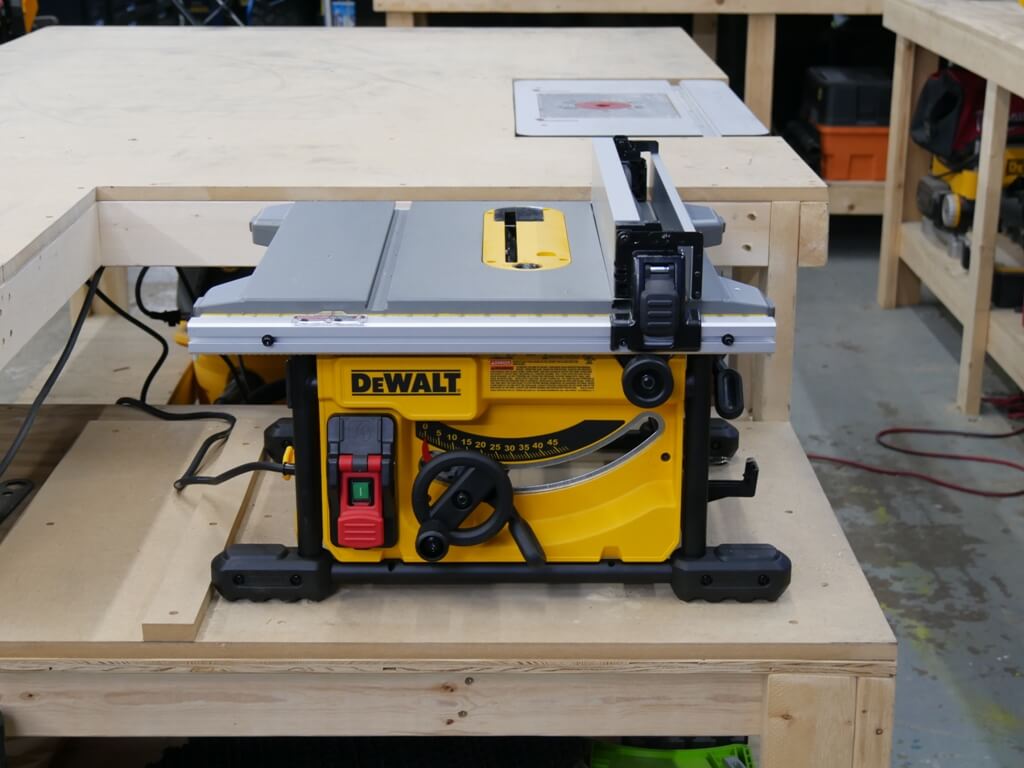
source: toolsinaction.com
What is the difference between a table saw and a bench saw?
A bench saw is in fact another name of a table saw. There is no distinction between a table saw and a bench saw. However, most woodworkers prefer using the name table saw to a bench saw.
What is the main purpose of a table saw?
A table saw is a multi-purpose saw utilized when crosscutting and ripping wood. However, it is most preferred when ripping wood. A table normally has a guide also called a fence that helps to maintain the piece being cut in place. No proficient DIYer or woodworker will miss a table saw in his arsenal.
How do you push the wood through a table saw?
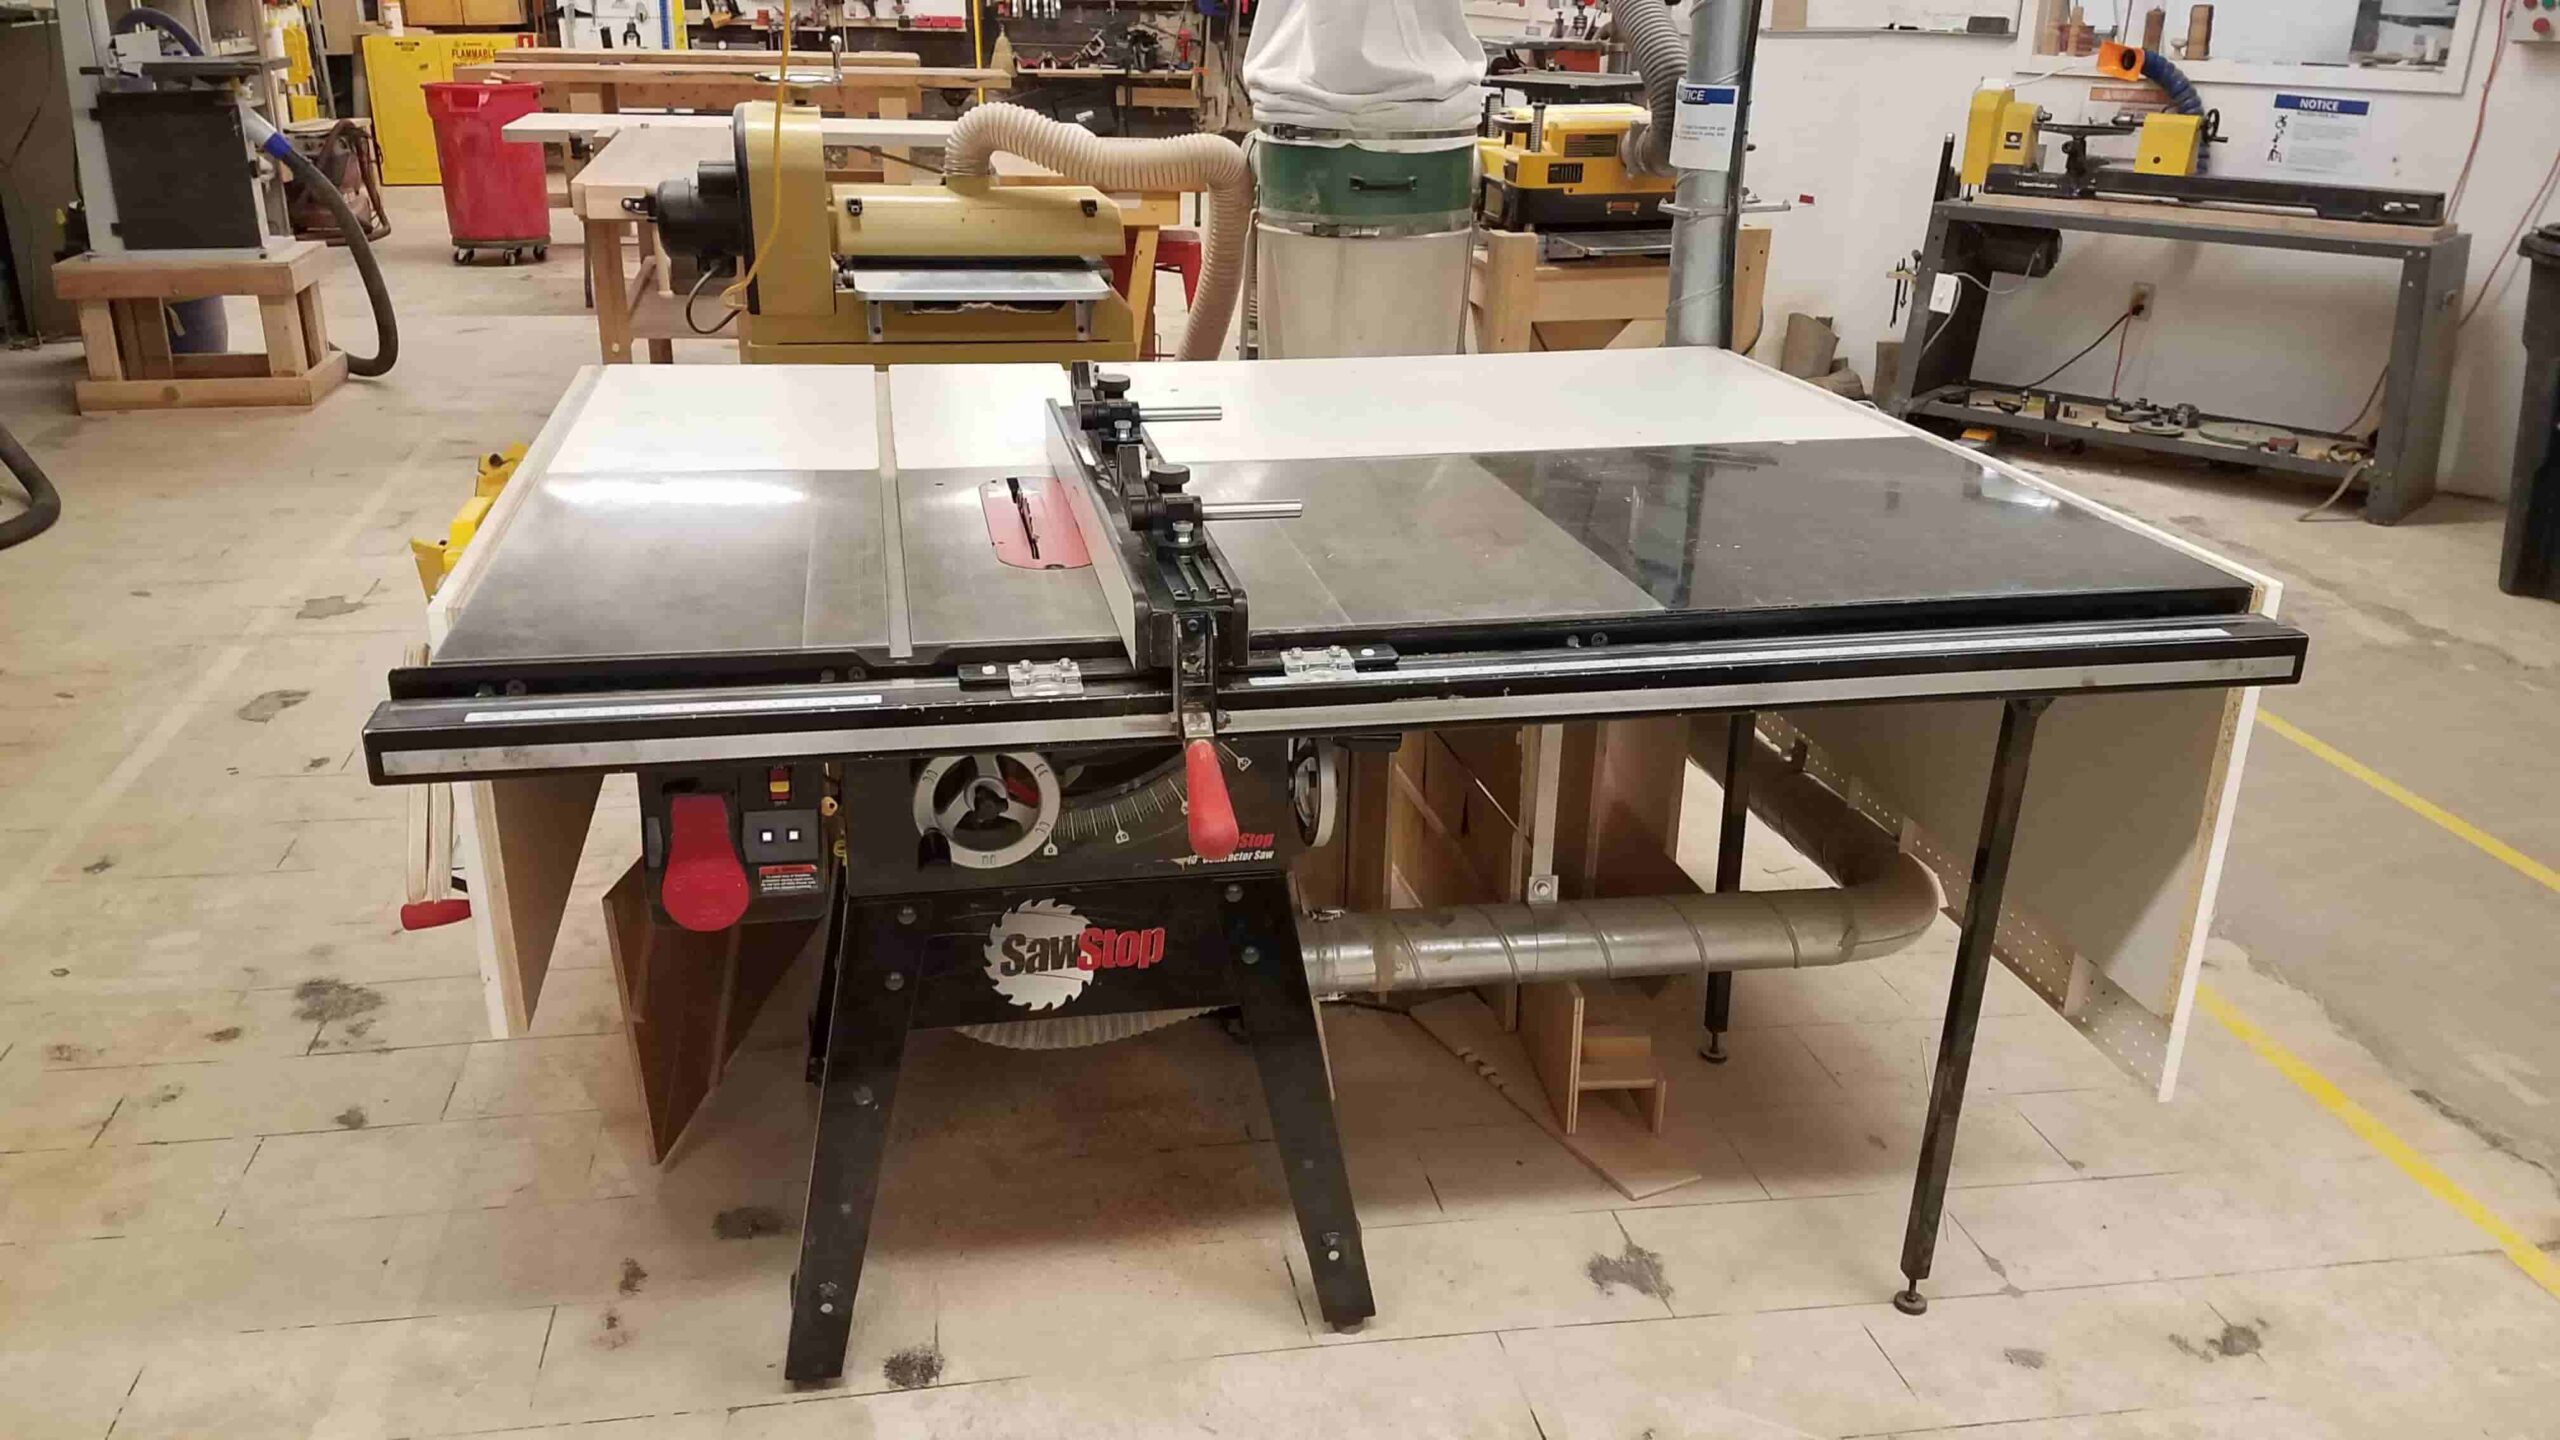
source: makehaven.org
When making narrow rips, push the board past the blade and prevent kick-backs by either using a push stick or a push shoe. Make sure you turn off the saw before removing the cut board. Ripping longboards that extend past the table is tricky, however, you can get someone to help you support the material or use a table extension to support it as you cut to keep it flat all the time.
Conclusion
Be it you have a portable bench model or you have an industrial-grade workshop model, the procedures of using a table saw are similar and basic, and so is the equipment you need. Most tables saw accessories come with the saw, however, there are some you will have to make yourself like table extensions used to support long pieces of wood. Just like any other tool, maintenance and safety should be a priority. If not handled as required, table saws can lead to serious injuries. Also, performance and precision may drop drastically if it is not properly maintained.

